
REVIEW · GREAT OCEAN ROAD & THE TWELVE APOSTLES
Melbourne to Adelaide 3-Day Great Ocean Road & Grampians Tour
Three days, two icons, zero driving. What makes this trip worth it is the combo of Great Ocean Road cliffs plus Grampians hikes, handled by a guide so you skip the stress and still see the big hits. I especially like the live commentary on the way between stops and the guided time on foot at the major viewpoints. One caution: you can feel a little rushed at a couple of the most popular photo stops, including the Twelve Apostles, if you want long unhurried wandering.
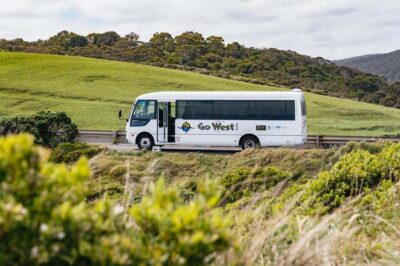
This is a small-group style tour (up to 23 people) on an air-conditioned mini-coach with Wi-Fi, which helps a lot when you are bouncing between coastal lookouts and bushwalking. I’ve seen how guides like Niall and Janet (J-Dawg) keep the day on track with clear timing, and other guides such as Jordan, Bec, Blinky, Jiri, and Chris show the same theme: they make the stops feel more meaningful with local context, not just sightseeing.
At $641.93 per person, you are paying for more than seats. You’re getting park access, two nights of accommodation (Warrnambool and Halls Gap), guided walking (about 6.5 km total), and some meals, which is where this route can start to feel like good value if you would otherwise be piecing together transport and tickets yourself. My one heads-up for value shoppers: lunch and drinks are on you unless specified.
In This Review
- Key Points Before You Go
- Why This Melbourne to Adelaide Tour Feels Effortless
- Price and What $641.93 Really Covers
- Day 1, Melbourne to Warrnambool: Westgate Views, Rainforest Steps, and Cliff Icons
- Day 2, Warrnambool to Halls Gap: Wildlife Chances, Indigenous Learning, and the Pinnacle
- Day 3, Halls Gap to Adelaide: Boroka, Reed, and Mackenzie Falls
- Comfort, Pace, and How to Not Feel Rushed
- Wildlife Spotting: Better Odds When the Habitat is Right
- Food, Drinks, and the One Dinner You Might Want to Plan Around
- Who Should Book This (and Who Might Want Another Plan)
- Should You Book This Melbourne to Adelaide Great Ocean Road and Grampians Tour?
- FAQ
- How long is the tour?
- Where does the tour start and end?
- What time does the tour start?
- Is Wi-Fi included on the bus?
- Are national park fees included?
- What meals are included?
- Is this tour suitable for people who want to hike?
- Does the tour run in bad weather?
- How big is the group?
- What luggage can I bring?
Key Points Before You Go
- Air-conditioned mini-coach with Wi-Fi, so the long drive days feel easier
- Live English commentary that adds context while you’re passing sights
- All national park admissions included, which saves time and hassle at ticket points
- Wildlife spotting in natural habitat areas, with repeated chances across the route
- Guided bush walking totaling about 6.5 km, plus longer hikes like the Pinnacle lookout
- One-way Melbourne to Adelaide transfer, ending in the city center
Why This Melbourne to Adelaide Tour Feels Effortless
You are doing two of Victoria’s best road trips in three days. The big win here is that you are not renting a car, not doing navigation, and not trying to manage parking at busy viewpoints. The coach handles driving, timing, and the in-between stretches, so you can focus on photos, short walks, and listening.
The small group matters more than it sounds. With a maximum of 23 travelers, stops tend to run smoother, and your guide can keep the pace realistic while still giving you time to get off and look around. On this route, that pacing is everything, because the Great Ocean Road alone can eat up your day if you are trying to do it on your own.
Melbourne written up laneway by laneway
- From Melbourne: Great Ocean Road, 12 Apostles, Wildlife Tour★ 4.7 · 6,020 reviews
- Penguin Parade, & Wildlife Encounters Eco Tour from Melbourne★ 5.0 · 3,774 reviews
- Melbourne: Yarra Valley Wine, Gin, Whisky and Chocolate Tour★ 5.0 · 3,667 reviews
- Melbourne Great Ocean Rd Reverse Tour London Bridge Wildlife★ 4.7 · 2,252 reviews
Price and What $641.93 Really Covers
$641.93 can look steep until you map it onto what’s included. Here, you’re paying for:
- Transport from Melbourne to Adelaide on a one-way journey
- Air-conditioned coach travel with Wi-Fi
- Park admissions for the national parks you visit
- 2 nights accommodation (Warrnambool and Halls Gap)
- Breakfast twice and dinner twice
- Guided bush walking (around 6.5 km total)
- A driver-guide with live English commentary
If you were to do the same route independently, you would still need transport, accommodation at two stops, and park entry fees, plus the time to plan it all. This tour bundles that up into a fixed schedule. Just remember that food and drinks outside breakfast and dinner are not included.
Day 1, Melbourne to Warrnambool: Westgate Views, Rainforest Steps, and Cliff Icons
Your day starts in Melbourne at 7:35 am from Immigration Museum on Flinders Street. The early start is not for fun, it’s to help you get the coastal stops before they get crowded and before fog rolls in (when it does, visibility can be hit or miss along the Great Ocean Road).
Westgate Bridge and Melbourne skyline stop (30 minutes). You’ll depart over the Westgate Bridge and the guide prompts you to look back over your shoulder at the city skyline. It’s a quick moment, but it sets the tone.
Anglesea (25 minutes). This is your first taste of the Great Ocean Road vibe, with ocean views and surf beaches. You get enough time to step out, stretch legs, and get a few quick photos without feeling like you’re rushing past everything.
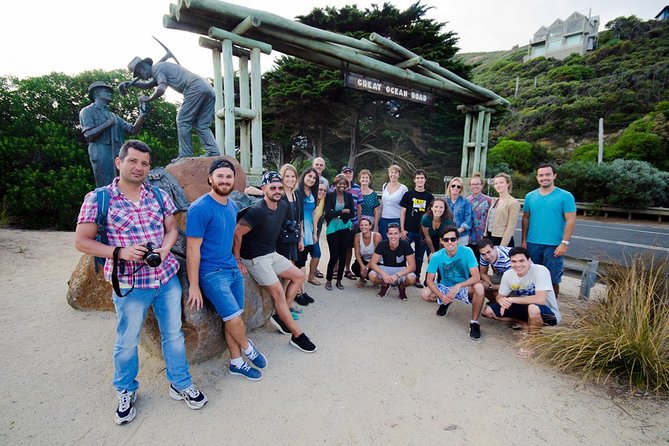
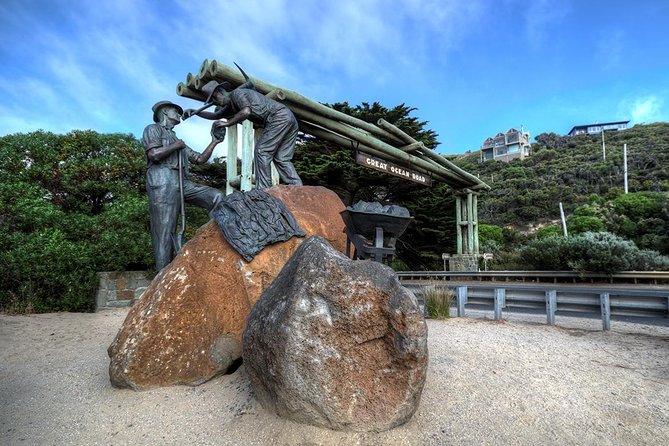
Great Ocean Road Memorial Archway (15 minutes). This one is mostly about the classic photo under the historic arch. Keep it simple here. You’re saving your energy for the coastline later.
Apollo Bay (1 hour). This is where you can slow down a bit. Apollo Bay is a seaside town feel, and you’ll have time to browse, grab a snack if you want, and reset after the first wave of stops.
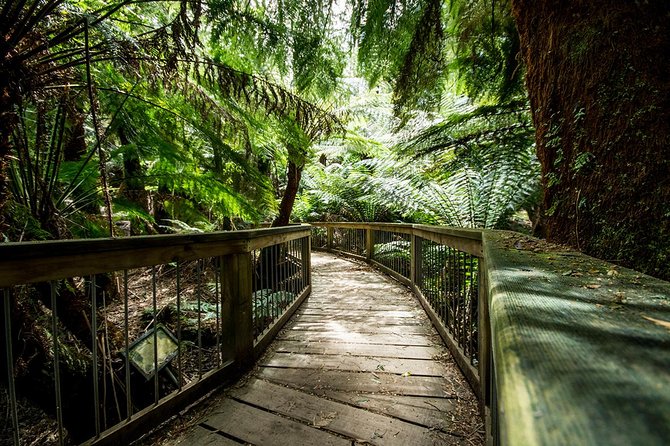
Great Otway National Park rainforest walk (40 minutes). You’ll take a guided walk through rainforest. This is a nice contrast day-one, because it breaks up the coastal focus with something quieter and cooler under the trees. Wear footwear you trust for damp ground, just in case.
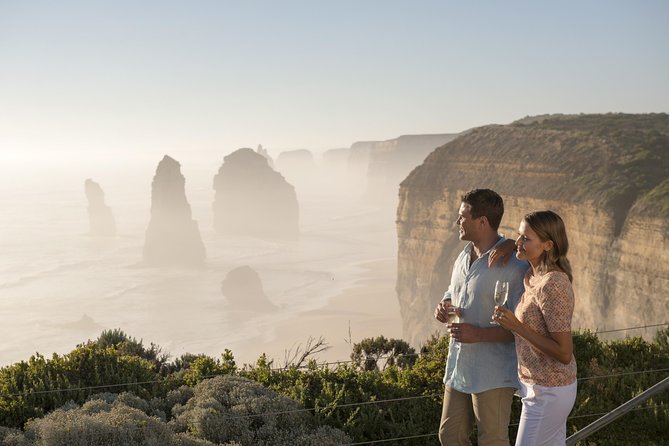
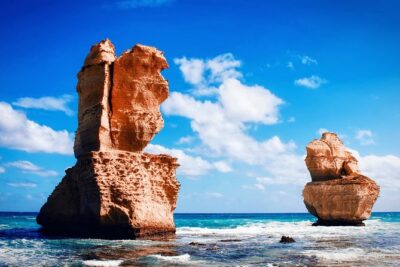
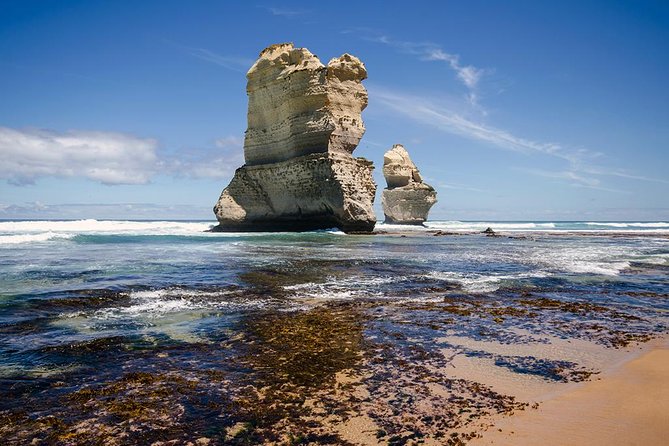
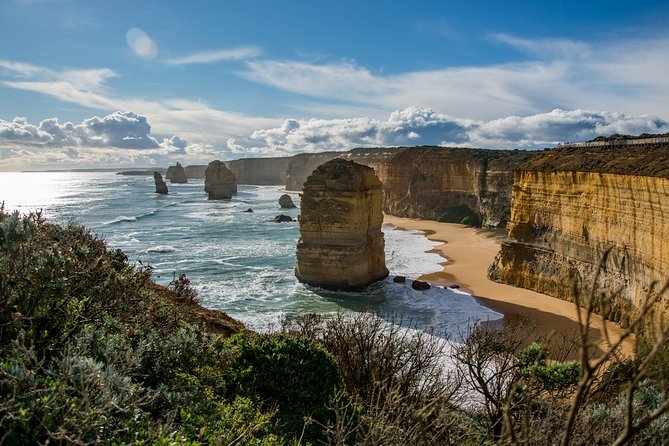
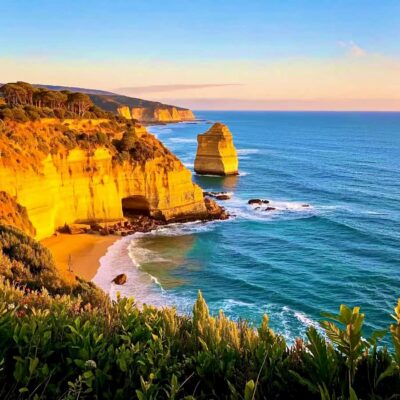
The Twelve Apostles (50 minutes, plus optional helicopter). This is the big one. You’ll do cliffside boardwalk strolls and get time for viewpoints. A 15-minute helicopter option is available as an extra payable on tour, weather and time permitting. If the sky looks dodgy, don’t stress, the ground views are still worth it.
One practical reality: with popular icons like this, the time feels tight if you want long wandering. If you’re someone who likes to linger for golden hour style photos, aim to move efficiently, hit the main boardwalk points first, then decide if you want more time at the far ends.
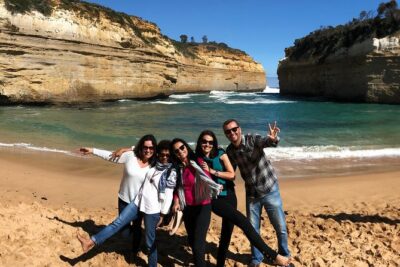
Loch Ard Gorge (50 minutes). This stop focuses on the shipwreck coastline feel and time exploring the area, including an off-path look at a hidden beach at Loch Ard Gorge. It’s the kind of stop where a short hike and a bit of uneven terrain are part of the fun.
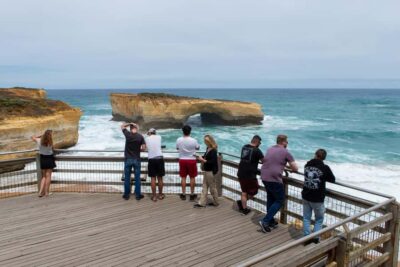
London Bridge (2 hours 30 minutes). This is your long slow stop, with limestone coastal formations and three viewing platforms. You can take a full loop, reposition for photos, and still have time to catch your breath. If you want to trade bus time for scenic time, this is where you get it.
Warrnambool overnight (arrive after a 1 hour stop). You’ll end the day in Warrnambool and sleep at a local motel. After this much coastline, you will want a real dinner and a proper night’s rest, and that’s exactly what this stop is for.
Day 2, Warrnambool to Halls Gap: Wildlife Chances, Indigenous Learning, and the Pinnacle
Day two begins with breakfast at a local beachside cafe (about 1 hour). This is a good setup for the day because you’re about to mix wildlife areas, cultural context, and proper hiking.
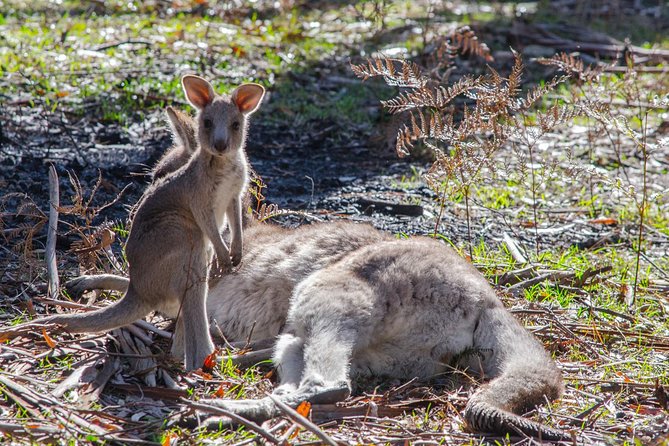
Tower Hill Wildlife Reserve (2 hours, ticket included). This is an extinct volcano area with Aboriginal history and plenty of wildlife chances. I like that it’s not just “look for animals,” it’s that the habitat is set up for viewing and you’re moving through the reserve with guidance. Wildlife can’t be guaranteed, but this is one of those places where your odds tend to improve versus random roadside stops.
Halls Gap (arrive around lunchtime, 1 hour). You’ll arrive with time to explore and look for kangaroos in the wild. Even if you do not spot a lot, the town is a handy base to reset, stretch, and plan your energy for the next hike.
Halls Gap Visitor Information Centre (50 minutes). This is one of the more thoughtful stops. You’ll learn Indigenous culture and history and get direction on local wildlife. If you’re the type who likes to understand what you’re seeing before you start photographing it, this helps.
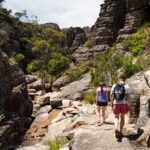
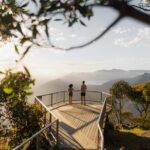
The Pinnacle hike (up to 3 hours). This is the day’s active highlight. You’ll hike up to the Pinnacle lookout with big views over the Grampians. It’s long enough to feel like a real effort, so pace yourself, drink water, and don’t burn out in the first half.
Grampians National Park dinner and overnight (1 hour). You’ll have a group dinner and sleep in Halls Gap. This is where the tour shifts from sightseeing to a more comfortable rhythm, no more running between lookout points.
Coast road departures to the stacks
Day 3, Halls Gap to Adelaide: Boroka, Reed, and Mackenzie Falls
Breakfast is included again, and if you want an early start you can ask your guide about sunrise views, which are described as spectacular. Even if you skip sunrise, the day still moves in the right order: quick lookouts, then a nature walk, then the transfer into Adelaide.
Boroka Lookout (20 minutes). Short and scenic. This is the kind of stop where you take the best viewpoint, snap a photo, and keep going. If weather is clear, these high points deliver strong views fast.
Reed Lookout and The Balconies, also known as Jaws of Death (45 minutes). This is another classic Grampians viewpoint area. The time gives you enough space to spread out, take photos, and catch a few angles from different spots.
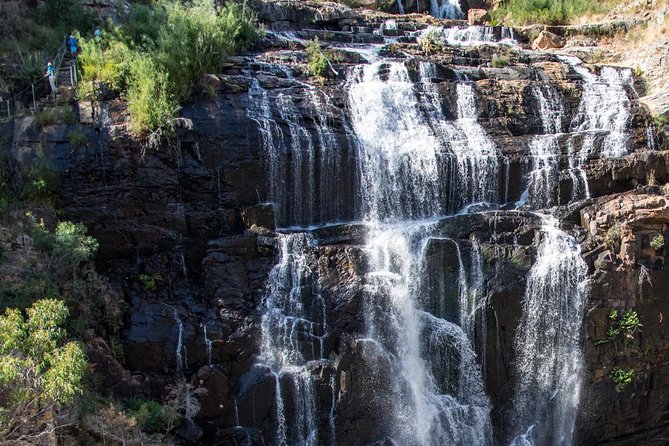
Mackenzie Falls base walk (45 minutes). This is your cooling-off segment, with a hike to the base of the falls. When you’ve been in sun and wind all week, the payoff is that your body gets a break and you get a change of scenery from the lookouts.
Horsham break (45 minutes). You’ll have time to look around and get lunch. This is also where the group divides for people continuing onward to Adelaide versus those returning to Melbourne, so you might feel a bit of shuffle in the air.
Transfer to Adelaide (arrive about 8:00 pm, city center drop-off around 7:30 pm). The final drive is long, but it’s straight into city center convenience. Your end point is 83 Franklin St, so you are not stranded miles from where you need to be.
Comfort, Pace, and How to Not Feel Rushed
This trip is best when you accept its rhythm. You will have a mix of short photo stops, mid-length explorations, and a couple of longer hikes. That means you should pack light energy, not a rigid plan to spend ages at every single viewpoint.
The coach is air-conditioned and you get Wi-Fi, which helps for downtime between stops. It also makes a difference when the schedule runs a bit behind, because you’re not stuck in total boredom.
For fitness, the tour asks for moderate physical fitness. You do get guided bushwalking totaling about 6.5 km, but the real effort points are the Pinnacle hike and the general walking on boardwalks and lookouts. Bring sturdy shoes. If you rely on sandals, you’ll regret it.
Weather is a factor. The tour operates in all weather conditions, so dress for wind and possible wet. Fog can affect visibility along parts of the Great Ocean Road, and when that happens, you have to adjust expectations. Your guide can only do so much, but you still get the coastline experience, just with different mood.
Wildlife Spotting: Better Odds When the Habitat is Right
One of the reasons I think this tour earns its high rating is the repeated wildlife opportunities across different environments. You’re not doing one random “maybe we’ll see a koala” stop and calling it a day.
On this route, you have wildlife chances tied to reserves and parks, including Tower Hill Wildlife Reserve plus the Grampians base area around Halls Gap where kangaroos and other animals are commonly spotted. In guides’ past days, people have reported major sightings, including koalas and other wildlife such as kangaroos, wallabies, and emus in natural habitat.
Still, treat wildlife like a bonus, not a guarantee. What you can control is how prepared you are to notice it. Keep your eyes up when you’re walking, stay quiet when animals are nearby, and give the guide a chance to point things out instead of rushing ahead for photos.
Food, Drinks, and the One Dinner You Might Want to Plan Around
Breakfast is included twice, and dinner is included twice. For lunches, you are on your own unless a stop time suggests a purchase option.
Most of the day is built around short, workable stop windows, so carrying a small snack can be smart if you tend to get hungry. Water is also a good idea, especially on the Grampians hikes where it can get warmer in the afternoon.
One caution on dinner expectations: one feedback point mentioned that a BBQ-style dinner on the second night felt basic. That doesn’t mean every dinner will be the same, but it’s worth keeping an open mind. If you have dietary needs, it helps to confirm with the operator in advance, because what you can eat may depend on what’s available at each stop.
Who Should Book This (and Who Might Want Another Plan)
This works best if you want a structured, low-stress way to see two big regions without renting a car or building a day-by-day plan. It’s especially good for couples, first-time visitors to Victoria, and solo travelers who like the safety net of a guide and a small group.
It also fits if you enjoy a mix of short walks and viewpoints. You’re not signing up for a full endurance trek, but you are doing real hiking effort on days two and three.
If you hate time limits at iconic spots, or you want a totally flexible schedule where you can linger forever at each viewpoint, this might feel too guided. A few stops are long, like London Bridge, but some are short because the day is packed.
Should You Book This Melbourne to Adelaide Great Ocean Road and Grampians Tour?
I’d book it if your goal is to see the headline sights of the Great Ocean Road and the Grampians without driving fatigue. The blend of park admissions included, guided walking, and air-conditioned coach comfort is what makes it feel like a complete package rather than just a sightseeing ride.
I’d think twice if you are very sensitive to rushed timing at major icons, or if you want lots of free time for independent exploration. Also consider that accommodation quality can vary by location type, so if you expect hotel-luxury, you may want to adjust expectations.
If you do book, pack practical gear: comfortable shoes, a layer for wind, and a small snack for the gaps. And when your guide points something out, trust it. The people who get the most out of this tour often treat the commentary and wildlife spotting as part of the experience, not just background noise.
FAQ
How long is the tour?
It runs for 3 days (approx.).
Where does the tour start and end?
It starts at Immigration Museum, 400 Flinders St, Melbourne, and ends at 83 Franklin St, Adelaide (bus station drop-off).
What time does the tour start?
The start time is 7:35 am.
Is Wi-Fi included on the bus?
Yes, you travel in an air-conditioned mini-coach with Wi-Fi.
Are national park fees included?
Yes, admission to all national parks is included.
What meals are included?
Breakfast is included twice, and dinner is included twice. Food and drinks are not included unless specified.
Is this tour suitable for people who want to hike?
You should have a moderate physical fitness level. The tour includes guided bush walking totaling about 6.5 km, plus hikes like the Pinnacle and walking to the base of Mackenzie Falls.
Does the tour run in bad weather?
Yes. It operates in all weather conditions, so dress appropriately.
How big is the group?
The maximum group size is 23 travelers.
What luggage can I bring?
You can bring a maximum of 1 suitcase and 1 carry-on bag. Oversized or excessive luggage may have restrictions, so it’s best to check with the operator before you travel.
Goldfields and Grampians

The Coast Road, Other Ways

Melbourne, Block by Block
Added lately from Melbourne
- Melbourne: Progressive Dinner Tour – Chinatown, Laneways & Drink
★ 5.0 · 53 reviews - Melbourne: Sunrise Hot Air Balloon Experience
★ 4.5 · 53 reviews - Melbourne: Melbourne Gardens Explorer Minibus Tour
★ 4.7 · 53 reviews - Yarra River: 1.5-Hour Scenic Sunset Public Cruise
★ 4.3 · 57 reviews - Melbourne Premium Balloon Flight
★ 5.0 · 57 reviews - Mornington Peninsula Wine Day Tour
★ 5.0 · 58 reviews
Great Ocean Road & the Twelve Apostles, compared.
 ★ 5.0Great Ocean Road Small-Group Eco Tour from MelbourneFrom $1066,607 reviews
 ★ 4.7From Melbourne: Great Ocean Road, 12 Apostles, Wildlife TourFrom $946,020 reviews
 ★ 5.0Great Ocean Road Reverse Itinerary Boutique Tour – Max 11 GuestsFrom $1064,186 reviews
 ★ 4.8Great Ocean Road Tour w/ Deluxe Minibus & Top-Rated GuideFrom $1052,644 reviews
 ★ 4.7Melbourne Great Ocean Rd Reverse Tour London Bridge WildlifeFrom $462,252 reviews
 ★ 4.5Melbourne: Great Ocean Road Extended–Top Stops&London BridgeFrom $421,920 reviews
 ★ 4.8From Melbourne: Great Ocean Road Boutique Tour in ReverseFrom $971,471 reviews
 ★ 5.0Great Ocean Road Full-Day Sunset Eco Tour from MelbourneFrom $1141,085 reviews