
REVIEW · HOBART & MOUNT WELLINGTON
Hobart City Sightseeing Tour including MONA Ticket
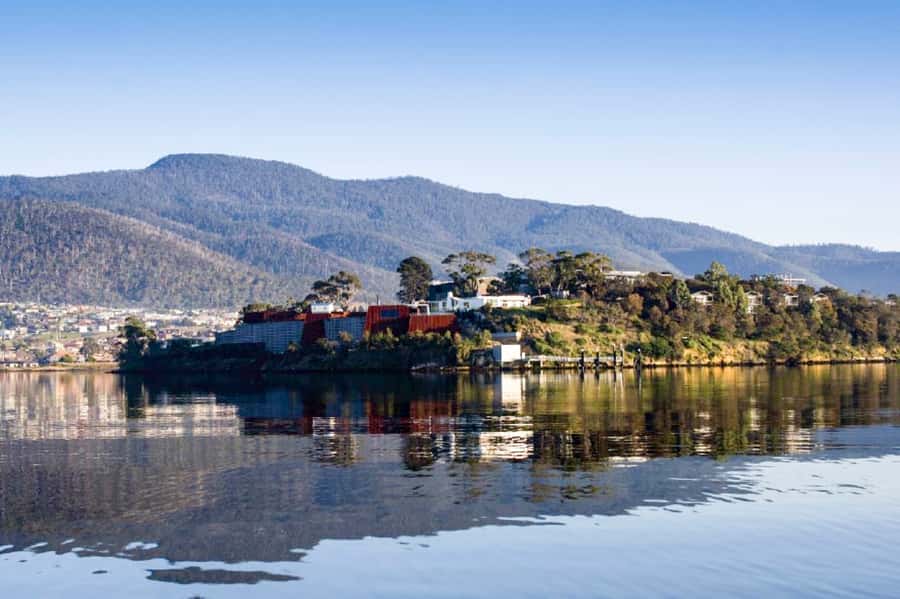
Two Hobart icons in one day. This coach and ferry loop pairs classic city viewing with MONA entry, so you get street-level stories in the morning and an art-world left turn in the afternoon. The Derwent River cruise also makes the whole day feel less like a checklist and more like travel.
I like the way the tour is built around live commentary from local driver guides, with real context as you pass key spots like Salamanca Place and Battery Point. I also like that you are not left scrambling for separate bookings, because your MONA ticket and ferry return are included, giving you about 3 hours on site. One thing to consider is time pressure: you have limited stops, so if you want a long sit-down coffee at the gardens or you know you prefer bright, well-lit galleries, you may need to plan your priorities.
You start and finish at Brooke Street Pier, with an English guide and a comfortable day layout designed to get you back in time to still enjoy Hobart later. Guides named in past trips, like Brody and Tim, have been praised for mixing clear history with a relaxed tone, which helps on a full 8-hour schedule.
In This Review
- Key points at a glance
- Starting at Brooke Street Pier: your day’s simple anchor
- Hobart by coach: where the stops actually add meaning
- Cascade Gardens and the Female Factory remains
- Rosny Hill lookout: the view break that pays off
- Royal Tasmanian Botanical Gardens: short visit, smart use of time
- The Derwent River ferry to MONA: travel as part of the experience
- MONA with your ticket included: how to plan 3 hours underground
- Go in with the right expectations
- How to use the “skip the line” advantage well
- Food, breaks, and the flow back to Hobart by 17:30
- Value for $99: what you’re really paying for
- Who should book this tour, and who should skip it
- Should you book? My practical call
Key points at a glance
- City highlights with live commentary, including areas like Salamanca Place and Battery Point
- Cascade Gardens and Royal Tasmanian Botanical Gardens with short, practical time blocks
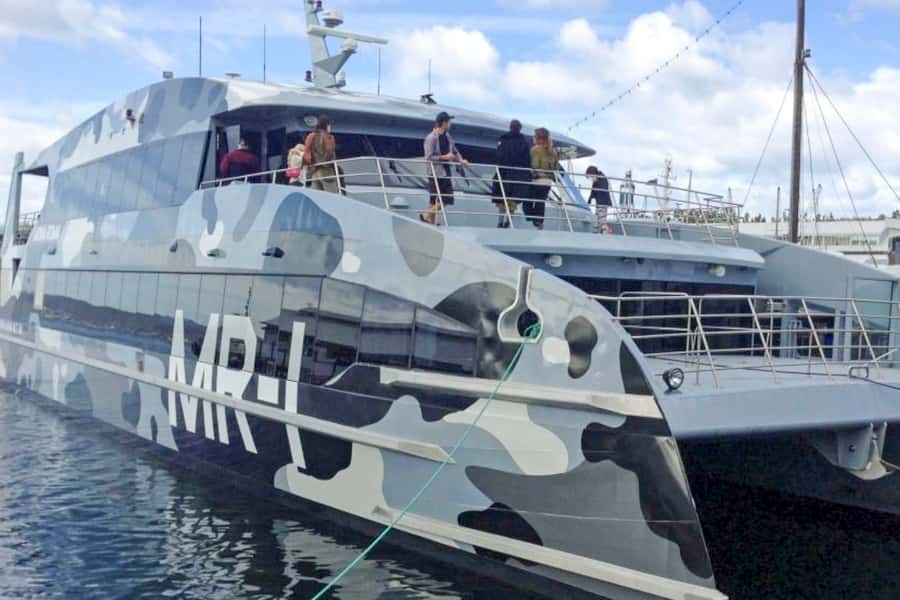
- Included Derwent River ferry, plus great views crossing the water and Tasman Bridge
- MONA entry included, with about 3 hours to explore at your pace
- Skip-the-line MONA ticket advantage and a smooth return to Brooke Street Pier
- Tour timing that lands you back at about 17:30, ready for dinner plans
Starting at Brooke Street Pier: your day’s simple anchor
The whole experience is organized around one easy hub: Brooke Street Pier. That matters because you do not spend the day playing phone-tag with pickups. If you arrive a bit early, you can get oriented, grab water, and settle in before the coach departs.
You’ll also notice the tour desk setup for Gray Line Tasmania inside the pier building. It is the kind of detail that sounds small until you are trying to find the correct meeting point on a busy day.
One extra note: the transport described as a converted coach tram may be swapped for a different vehicle for operational reasons. You’ll still get the same basic city route and guide, but it is smart to be mentally flexible about the exact type of vehicle you ride.
The mountain, the docks and the Saturday market
- Full-Day Guided Bruny Island Tour from Hobart★ 5.0 · 1,331 reviews
- kunanyi/Mt Wellington Explorer Bus- Return Tour (2.5 hours)★ 5.0 · 1,249 reviews
- Hobart: Bruny Island Food, Sightseeing & Lighthouse Day Tour★ 4.8 · 960 reviews
- Hobart: kunanyi/Mt Wellington Explorer Bus Pass★ 4.8 · 848 reviews
Hobart by coach: where the stops actually add meaning
This is not a speed-run where you just hop off, snap a photo, and return. The value is in the way your local guide guides your attention, turning familiar streets into a story about how Hobart grew.
On the morning city drive, you pass a bundle of iconic sights, including Sullivan’s Cove and Parliament House. You also get the kind of moments that help you form a mental map: Salamanca Place, Princes Park, and Battery Point, to name a few. The route is paced so you can absorb the overview first, then enjoy MONA later without feeling like you missed the “why” behind Hobart.
Cascade Gardens and the Female Factory remains
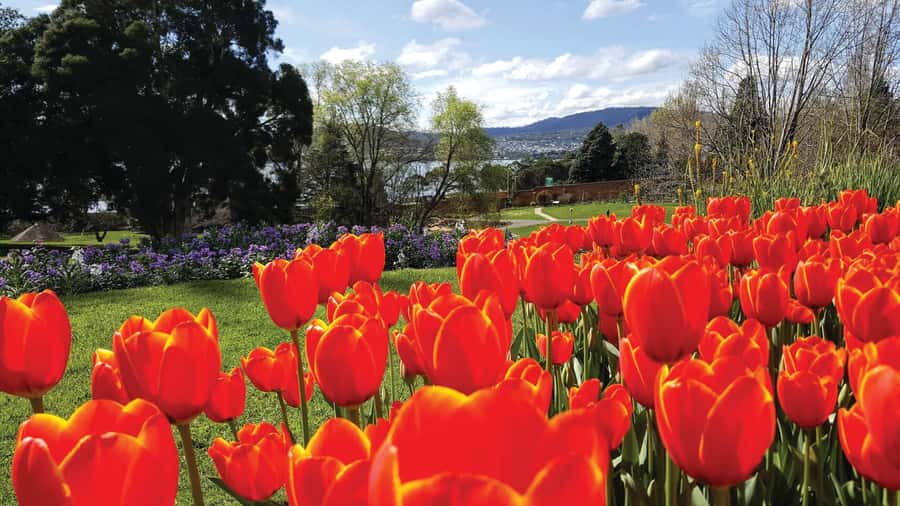
One stop that stands out is Cascade Gardens in South Hobart. You get a short walk, about 15 minutes, which is enough for fresh air and a few solid viewpoints without eating up the day. If you like history that has a human side, you’ll also appreciate the chance to see the remains of the Female Factory. It is the kind of place that makes the city’s past feel real, not abstract.
There is also a photo stop that includes the exterior look of the Cascade Brewery area. You may only see it from the outside, so treat it as a brief orientation moment, not a full brewery visit.
Rosny Hill lookout: the view break that pays off
Later in the day, you hit Rosny Hill lookout. This is one of those stops where the time is short but the payoff is big, because you can take in a wide sweep of Hobart, including Sandy Bay, Mount Wellington, Tasman Bridge, and Glenorchy. From a traveler’s perspective, this matters because it helps you connect the morning streets to what you will see again from the water on your way to MONA.
If the weather is clear, this is where you’ll feel the geography of Hobart click into place. If it’s cloudy, it’s still a good reset stop, and you can keep moving without losing momentum.
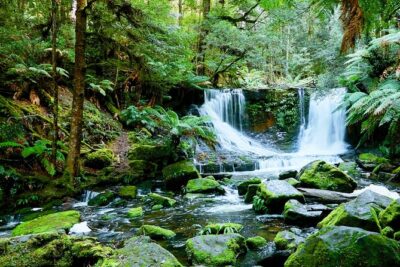
Royal Tasmanian Botanical Gardens: short visit, smart use of time
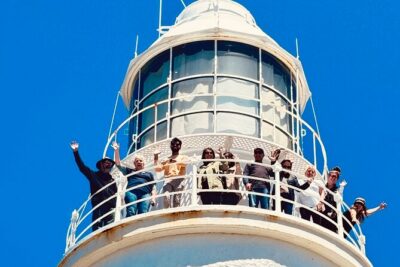
The Royal Tasmanian Botanical Gardens are timed as a break plus sightseeing, around 50 minutes. That is enough to stroll, orient yourself, and enjoy the setting, but it is not an all-afternoon hangout. If you want a long cafe stop, plan for a quick order, because the clock moves.
In the real world, this is a common tradeoff on half-day-plus tours: you get a hit of the gardens, but not the slow roaming pace you might want if you came specifically for plants and scenery. I suggest you use this stop for one clear goal, like walking to a viewpoint and then doing one loop back, rather than trying to do everything.
One more practical tip: keep your water bottle and any snack plan simple. The tour day already has movement built in, so your best strategy is to avoid needing extra time for searches once you are on the move.
The Derwent River ferry to MONA: travel as part of the experience
The included ferry ride is one of the most relaxing segments of the day. You board for the cruise, then later return on the same included ferry transfer back to Hobart at the end of the afternoon. It is a nice rhythm change from the coach: fewer stops, more time to look out and let the day breathe.
Crossing the Derwent River on Tasman Bridge is a visual highlight. This is where the earlier city viewpoints start to make sense, because you can see the relationship between docks, suburbs, and the water. If you like photos, this is when your camera roll starts to justify the full day.
Also, the ferry adds genuine comfort. A lot of people end up feeling less tired for the MONA portion because the journey is not stressful. For an art museum visit where you’ll likely move around and stand in dark galleries, saving your energy is a win.
MONA with your ticket included: how to plan 3 hours underground
MONA is built to be unusual, and that is exactly why it earns time on a tight schedule like this. You get the MONA entry ticket included, plus the skip-the-ticket-line advantage. Then you have about 3 hours of free time to explore at your own pace.
In plain terms, you should treat MONA as a choose-your-own-adventure. You do not need to see every installation in perfect order to have a great visit. Pick two or three experiences that match what you like, then let the rest be bonus.
Go in with the right expectations
Some people love MONA for its weirdness, technology, and willingness to challenge comfort. Others find the darker gallery spaces and underground feel more intense than they expected. You are not doing anything wrong if you choose lighter rooms first, then shift your route as you go.
If you feel at all overwhelmed by darkness or heavy themes, your best move is to set a simple plan at the start. For example, decide you will spend the first half hour orienting and picking one section, then reassess after you’ve warmed up. This prevents the common mistake of pushing through when you should recalibrate.
How to use the “skip the line” advantage well
Skipping the ticket line sounds like a minor perk, but on popular museum days it can save you the stress of timing. Arrive ready to start immediately. Once you’re inside, you do not want to spend your first 20 minutes asking yourself where to go, so take one moment to choose a direction and stick to it.
The museum time is generous enough to enjoy, but it is still a set block. If you love surprises, keep some time unplanned, but always assume you’ll want at least a little time to retrace your steps back toward the exit.
Food, breaks, and the flow back to Hobart by 17:30
An 8-hour day needs breathing room, and this one has it in the right places. The morning includes coach viewing and stops that break up the drive. The middle of the day shifts to botanical gardens and then the ferry.
The key is your strategy for meals. You’re moving between parts of town, and your free time is mainly in MONA. I recommend you treat food as flexible and quick. Bring a snack if you think you’ll get hungry during the gardens, then use MONA time for your main meal or a drink, depending on your tastes.
You also return to Brooke Street Pier at about 17:30. That timing matters for planning dinner or a late walk along the waterfront. This is not one of those tours that leaves you stranded too late and too tired to enjoy Hobart after.
Value for $99: what you’re really paying for
Price is $99 per person for an 8-hour outing, and it includes four big items: the coach sightseeing with live guide, the MONA entry ticket, the ferry return to Hobart, and the overall day routing that keeps you from figuring out transport yourself.
That is where the value comes from. If you tried to build the day independently, you would pay for museum entry plus ferry time, and you’d also spend time planning routes, timing, and ticket logistics. Here, you pay once, then the day runs on rails.
Also, you’re getting a two-part experience that most single-attraction tours do not deliver. You see Hobart in context, then you see MONA in context. Even if MONA is not your usual museum style, the city and the water ride make the whole day feel cohesive.
Who should book this tour, and who should skip it
This is a strong choice if you want an efficient introduction to Hobart plus MONA without worrying about transport math. It is also great if you enjoy guided context, because the coach leg is built around local storytelling, not just driving past buildings.
You might want a different plan if:
- you need lots of free time to roam slowly in nature gardens
- you prefer bright, well-lit museums and know you find underground spaces stressful
- you were expecting a longer, sit-down experience at the gardens or at any single stop
If you are a first-timer in Hobart, this tour is especially efficient. You get your bearings fast, then the day’s second half gives you a memorable payoff.
Should you book? My practical call
Book it if you want a full Hobart highlight day that ties together viewpoints, city history on the move, and an included MONA visit. The included ferry and MONA ticket make it simpler to budget and plan, and the timing gets you back to Brooke Street Pier at a reasonable hour.
Skip or adjust your expectations if you know you want maximum time in the gardens or you dislike darker museum environments. In those cases, you can still love Hobart, but you may be happier with a plan that gives you more control over pacing.
If you do book, my one piece of advice is simple: go into the MONA portion ready to choose. With about 3 hours, your best day happens when you pick your favorites, not when you try to conquer every room.
Hobart, Under the Mountain

Added lately from Hobart
- Wineglass Bay and Maria Island Scenic Flight Experience
★ 4.7 · 54 reviews - Hobart: Tahune Airwalk & Hastings Caves – Active Day Tour
★ 4.8 · 56 reviews - Hobart: Mt Wellington, Richmond, & Bonorong Wildlife Tour
★ 4.6 · 59 reviews - Tasmania: Wilderness and Wildlife Guided 6-Day Tour
★ 4.6 · 60 reviews - Port Arthur, Richmond and Lavender Active Day Tour
★ 4.5 · 61 reviews - kunanyi/Mt Wellington Explorer Bus – One Way Tour
★ 5.0 · 63 reviews
Hobart & Mount Wellington, compared.
 ★ 5.0Full-Day Guided Bruny Island Tour from HobartFrom $1291,331 reviews
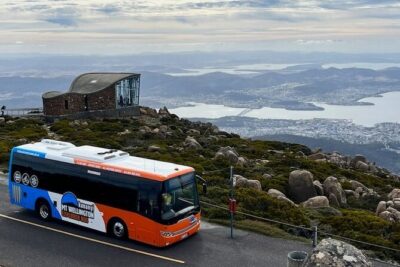 ★ 5.0kunanyi/Mt Wellington Explorer Bus- Return Tour (2.5 hours)From $351,249 reviews
 ★ 4.8Hobart: Bruny Island Food, Sightseeing & Lighthouse Day TourFrom $198960 reviews
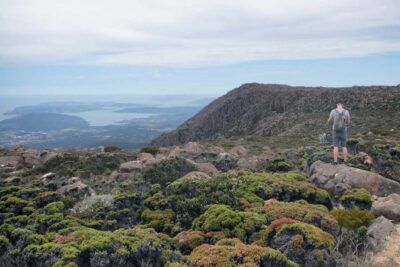 ★ 4.8Hobart: kunanyi/Mt Wellington Explorer Bus PassFrom $35848 reviews
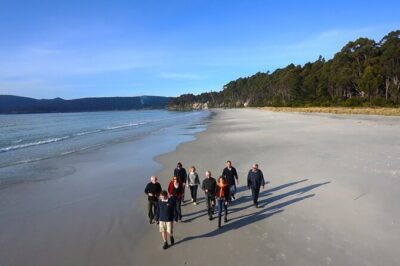 ★ 5.0Bruny Island Traveller – Gourmet Tasting and Sightseeing Day Trip from HobartFrom $197786 reviews
 ★ 4.5Hobart: 24-Hour Hop-on Hop-off Sightseeing Bus TicketFrom $31770 reviews
 ★ 4.7From Hobart: Full-Day Bruny Island Tour with GuideFrom $127755 reviews
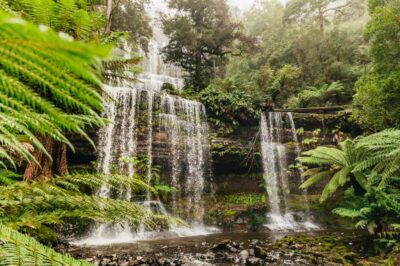 ★ 4.8Hobart: Mt Wellington, Mt Field, Bonorong and Richmond TripFrom $126722 reviews
Browse the lists this tour appears in