
REVIEW · HOBART & MOUNT WELLINGTON
Hobart Highlights Day Tour
Hobart, packed into one calm day. This guided highlights loop mixes big views, heritage towns, and hands-on fun, with round-trip transport and live commentary in a small group. I especially like the smart pacing, you get real time at key stops, and the Mount Wellington payoff even when weather changes the plan. One thing to keep in mind is that a cloudy or snowy summit can limit what you see, since the tour swaps in another lookout.
You also get a tour that feels built for limited time in Hobart. The itinerary hits Salamanca Market (Saturday only), the historic township of Richmond, a quick break at Wicked Cheese Co., and a wildlife sanctuary to close the day. If you mainly want lots of downtown wandering or a long lunch, you might find the schedule a bit tight.
In This Review
- Key things I’d bank on before you go
- The value of a Hobart highlights loop (especially if time is short)
- Price and logistics, what matters most for your day
- A small group, live commentary, and why the minivan loop works
- Kunanyi (Mt Wellington) and the weather reality up top
- Salamanca Market Saturdays: local flavor, art, and easy browsing
- Richmond, convict-era streets, and how to spend your hour well
- Wicked Cheese Co.: the small stop that adds a lot of fun
- Bonorong Wildlife Sanctuary: close encounters, with weather and heat in mind
- The city highlights loop: seeing Hobart’s key landmarks without the parking stress
- How long the day feels, and the pacing sweet spot
- Who should book this Hobart Highlights Day Tour
- Should you book this tour?
- FAQ
- How long is the Hobart Highlights Day Tour?
- Does the tour include pickup?
- Is Salamanca Market included, and what day is it available?
- What happens if Mt Wellington is cloudy or snowy?
- What is included in the tour, and is lunch provided?
- Do I need to pay separately for Bonorong Wildlife Sanctuary?
Key things I’d bank on before you go
- A small capped group (up to 20 travelers) makes the day feel more personal than a big bus ride
- Round-trip minivan transport saves you time and stress, plus you get live commentary all along the route
- Kunanyi, also called Mt Wellington, is the view anchor of the day, with an alternate lookout if weather turns
- Salamanca Market is Saturday only, so pick your day carefully
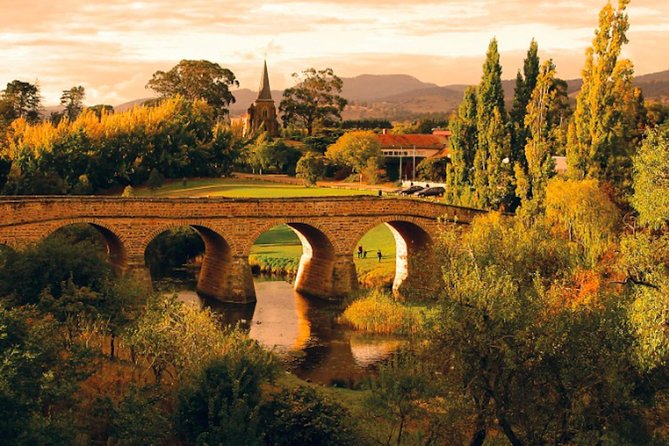
- Richmond gives you a full hour in a convict-era town with standout sandstone and colonial buildings
- Bonorong Wildlife Sanctuary is included in the general-entry mix, with close-up kangaroos and more
The value of a Hobart highlights loop (especially if time is short)
If you only have a day in Hobart, this is one of the more efficient ways to get your bearings. You’re not just driving past places, the route is planned so you hit the main “first-timer” stops in one 6 to 8 hour block without needing to rent a car or figure out transport between scattered sights.
For about $100.41 per person, the big value is what’s bundled: transport by minivan, a driver-guide with live narration, time at the summit area of Kunanyi (Mt Wellington), access to Salamanca Market on Saturdays, and general entry included for Bonorong Wildlife Sanctuary (with a note in the tour info that you should double-check whether Bonorong admission is fully covered on your specific ticket). You also get a quick complimentary cheese sampling at Wicked Cheese Co., which is a fun little add-on you would otherwise have to plan for.
The trade-off is that it’s still a tour schedule, not a choose-your-own-adventure. You’ll be moving through several highlights, so you need to be comfortable with short stretches of explore time and a day that runs on the clock.
The mountain, the docks and the Saturday market
- Full-Day Guided Bruny Island Tour from Hobart★ 5.0 · 1,331 reviews
- kunanyi/Mt Wellington Explorer Bus- Return Tour (2.5 hours)★ 5.0 · 1,249 reviews
- Hobart: Bruny Island Food, Sightseeing & Lighthouse Day Tour★ 4.8 · 960 reviews
- Hobart: kunanyi/Mt Wellington Explorer Bus Pass★ 4.8 · 848 reviews
Price and logistics, what matters most for your day
This tour includes several “pay later” items that can add up when you DIY. City transport is covered via the minivan, and the day is structured around time blocks that give you enough room to actually do something at each stop, not just stand on a corner for a photo.
Here’s what you should budget for on your own: lunch and drinks are not included. That’s not a deal-breaker, but it does affect how you plan the day. If you have dietary needs or you like to linger, decide in advance whether you’ll grab lunch in Richmond or bring your own plan.
Also note the tour is built for small numbers, with a maximum of 20 travelers. That matters because you’re more likely to get smoother coordination at stops and more flexible live guidance from the driver-guide during the ride.
Finally, this is built to operate in most weather conditions, but the views at Mt Wellington depend on the sky.
A small group, live commentary, and why the minivan loop works
One of the best parts of a guided day like this is that you don’t just see places, you understand them while you’re there. The tour runs with a driver/guide and live commentary, so the route becomes a moving history lesson and a practical orientation to Hobart.
From the transport side, you also get a “city loop” rhythm built into the day. On the way you pass major landmarks around Hobart, including Salamanca, Cascade brewery, Tasman Bridge, Parliament house, Battery point, and City Constitution Dock. You won’t be parking at each one, but the van routing plus commentary helps you connect the dots fast.
That’s especially helpful if it’s your first time in town. You’ll start the day learning where the key areas are, then you’ll come back to a couple of them later with a better sense of how everything fits together.
Guides vary by departure, and the names mentioned in guest feedback include people like Mark, Andrew, Roy, Josh, and Simon. Whoever you get, the format is the same: explanation while you ride, time when you stop.
Kunanyi (Mt Wellington) and the weather reality up top
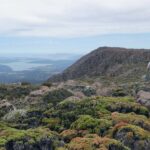
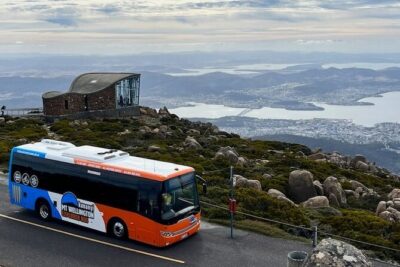
Kunanyi, also known as Mt Wellington, is the day’s big view anchor. You’ll head up to around 1272m, and the tour gives you about 30 minutes at the top to look around and soak up the air and sky.
When conditions are good, this is the moment that makes people love Hobart. One recurring detail you’ll hear is the presence of the “Big Stick” at the summit area, a landmark that turns the viewpoint into something memorable, not just scenic.
When conditions are not good, the tour handles it with a practical swap. If cloud or snow covers Mt Wellington, the plan is to use Rosny lookout or Mt Nelson as a substitute. That’s a big deal because it means the day keeps moving even if the best-sky day never happens.
My practical advice: treat the top time like a checklist item, not a guarantee. Go in expecting a possible foggy or grey view, and you’ll feel happier about whatever you get.
Salamanca Market Saturdays: local flavor, art, and easy browsing
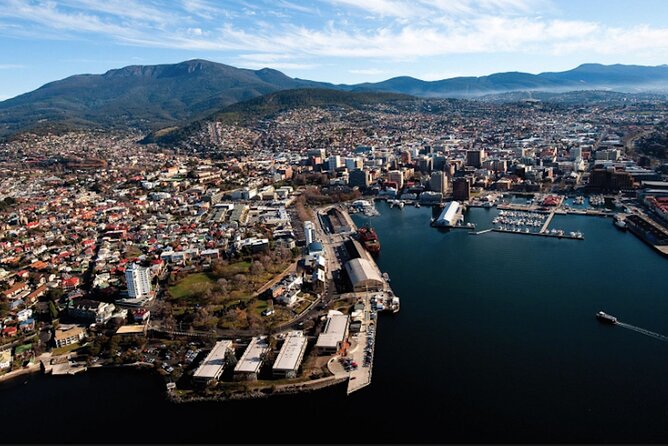
If your visit lands on the right day, Salamanca Market is one of Hobart’s easiest wins. The tour schedules time here for about 1 hour 15 minutes, and it’s Saturday only, so planning your tour date matters more than usual.
This stop is more than shopping. It’s one of the best ways to see Tasmanian life in a single concentrated area: local produce, art, and small-scale makers. Even if you’re not buying much, it’s a simple way to reset after the drive and to get your eyes on what Hobart feels like at street level.
A useful tip from the tour format: you’re not stuck rushing through everything. The time block is long enough to do real browsing, snack-style choices, and people watching without feeling trapped.
If your trip is not on a Saturday, you may not get this market stop, so confirm your day early.
Richmond, convict-era streets, and how to spend your hour well
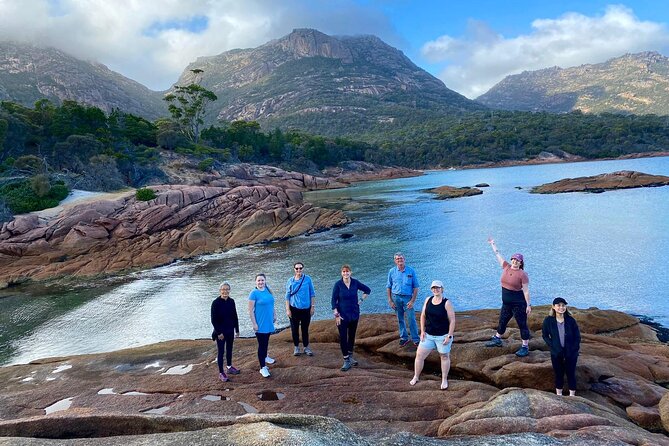
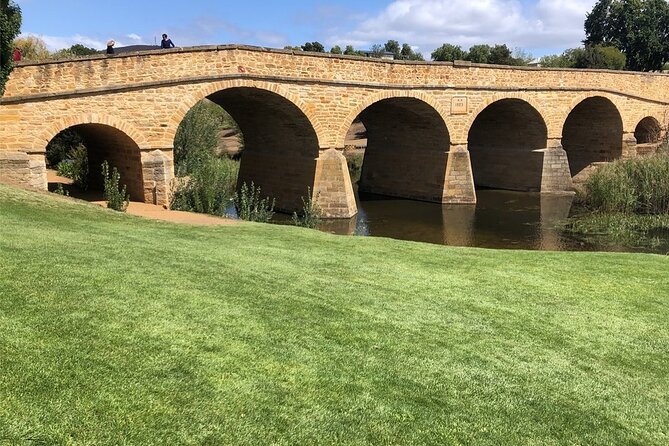
Richmond is where the day gets more human-scaled. You get about 1 hour to explore this nearby historic township known for convict history and sandstone and colonial buildings.
This is a great counterbalance to the mountain-view part of the day. At Mt Wellington you’re looking out, at Richmond you’re looking back, and the pace shifts from dramatic scenery to walking streets and imagining the past.
What I like about the time allocation is that it’s long enough to do something besides admire from the curb. You can stroll, take in the architecture, and get a feel for why Richmond is a classic Tasmanian stop.
One guest highlight called Richmond the standout of the day. Another note: the tour also includes the time for exploring the town, but lunch is still on you, so use your hour strategically if you want to eat while you’re there.
Wicked Cheese Co.: the small stop that adds a lot of fun

Not every tour includes a food moment that isn’t just a quick photo. This one adds a stop at Wicked Cheese Co. for about 15 minutes, and it includes a complimentary cheese sampling.
Even if you’re not a hardcore cheese person, this is a good break in the schedule. It’s quick, it’s local, and it gives you a light, tasty reset between history and wildlife.
Because it’s described as a farm gate cafe-style experience, it also feels like a real place instead of a generic tourist stop. You may have the chance to purchase local produce from there as well, but the key included win is the sampling.
Think of this stop as a morale booster, not a must-do. If you like food stops, it’s a highlight. If you don’t, it still helps keep the day from feeling like nonstop sightseeing.
Bonorong Wildlife Sanctuary: close encounters, with weather and heat in mind
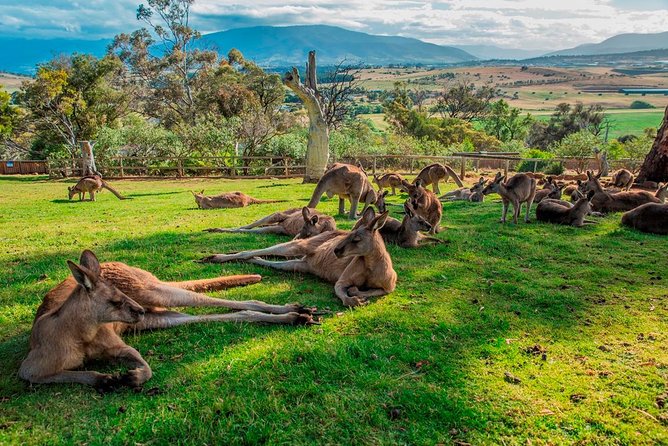
Bonorong Wildlife Sanctuary is the emotional closer of the day. You’ll get about 1 hour 15 minutes, and the tour lists general entry as included.
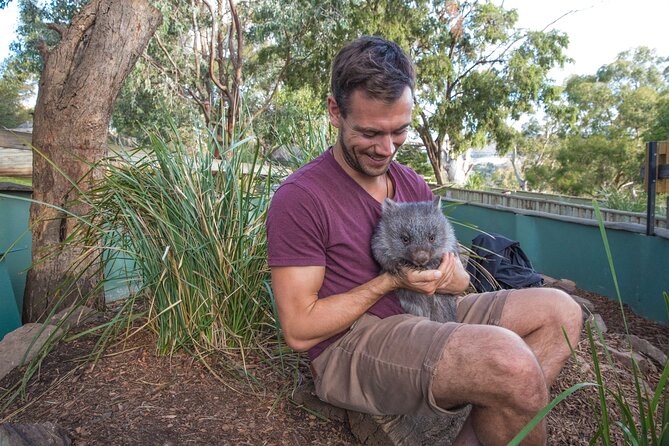
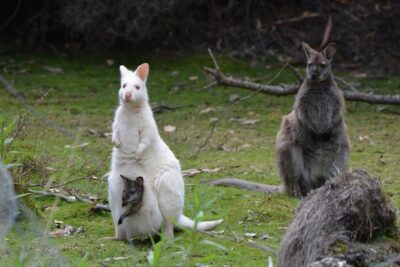
This is a place built for close viewing of friendly kangaroos and other Tasmanian and Australian wildlife. The animals make it feel special because you’re not just reading about them, you’re standing there watching them.
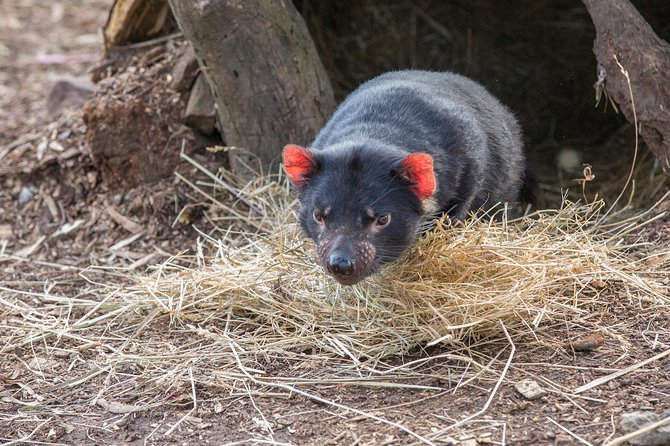
There’s one practical reality to know: animal activity can vary. One guest noted a hot day meant the animals were less active, and they missed seeing the Tasmanian devil during their visit. That doesn’t mean you will miss it, but it does mean you should arrive with flexible expectations. If it’s warm, some animals may take a slower approach.
Also, if you’re traveling with kids or you want something different from viewpoints and buildings, this stop is the one that breaks the pattern.
One more note to check: the main included list says general entry is included, while an additional tour note says entry to Bonorong at your cost. If that matters for you, confirm what’s covered on your specific ticket before you go.
The city highlights loop: seeing Hobart’s key landmarks without the parking stress
Even though the day has major stops outside the city, the route still connects you to Hobart’s signature waterfront and government-area landmarks. During the loop you pass places like Tasman Bridge and Parliament house, and you travel near Battery point and City Constitution Dock.
You also roll through Cascade brewery along the way. That’s not just a name on a map. It helps you understand Hobart’s mix of modern city life and older industrial roots, all visible through a quick ride past rather than a long detour.
This is a good approach for first-timers. You get orientation on where the hotspots are, and you can decide later if you want to return on your own for more time in one area.
It also keeps the day from feeling like pure transit. The route is structured so the van time becomes part of the story, not dead time.
How long the day feels, and the pacing sweet spot
With a 6 to 8 hour duration, this tour is designed to be a true highlights day rather than a stretched full-day marathon. The stop timings are fairly tight, but they’re not rushed. You get a short summit window, a longer market block, a focused hour in Richmond, a quick cheese stop, then a longer wildlife finale.
The capped-group size also helps the day feel manageable. In smaller groups, there’s less waiting, and the driver-guide can adjust the flow if the sky changes or if people want a bit more time at one stop.
Weather is the main variable. The tour explicitly plans for most weather conditions, and it has alternates if Mt Wellington visibility is blocked. That’s why you should dress for changing conditions, not just for one perfect day.
Also, wear comfortable shoes. Even with minivan transport, you’ll be walking around markets and town streets.
Who should book this Hobart Highlights Day Tour
This tour is a strong fit if you:
- Want a quick, guided orientation to Hobart and its surroundings
- Plan your trip around a Saturday, so you can catch Salamanca Market
- Prefer a structured route over figuring out transport and timings yourself
- Want a mix of views, heritage, local food, and wildlife in one go
It may not be the best choice if you:
- Want a lot of time in the city center only, with minimal driving outside
- Are extremely view-dependent and would feel disappointed with a grey or clouded Mt Wellington day
- Need a long lunch or a flexible schedule
Should you book this tour?
If your goal is to see the major Hobart highlights without wasting hours on planning, I’d say yes. The combination of Mt Wellington time, Salamanca Market (Saturday only), a proper Richmond exploration window, a fun cheese sampling, and a wildlife finale is exactly the kind of day that helps you use limited time well.
Book it if you like guided storytelling and you’re okay with a schedule that adapts when the weather does. Skip it or at least consider alternatives if you know you want more downtown time than this route allows, or if you’re the type who needs guaranteed summit views.
If you do book, my best advice is simple: pick your day thoughtfully (Saturday for Salamanca), pack for changing weather, and treat Mt Wellington as a real experience, even when the view is not perfectly clear.
FAQ
How long is the Hobart Highlights Day Tour?
The tour runs for about 6 to 8 hours.
Does the tour include pickup?
Yes. Pickup is offered, and pickup starts before the tour start time.
Is Salamanca Market included, and what day is it available?
Salamanca Market is included only on Saturdays.
What happens if Mt Wellington is cloudy or snowy?
If weather covers Mt Wellington, Rosny lookout or Mt Nelson will be used as a substitute.
What is included in the tour, and is lunch provided?
The tour includes things like city loop time, the driver-guide, live commentary, time at the top of Kunanyi, Salamanca Market on Saturdays, and general entry to Bonorong Wildlife Sanctuary. Lunch and drinks are not included.
Do I need to pay separately for Bonorong Wildlife Sanctuary?
The tour info lists general entry as included, but it also separately notes that entry to Bonorong may be at your cost. Check what your ticket specifically includes so there are no surprises.
Hobart, Under the Mountain
Added lately from Hobart
- Wineglass Bay and Maria Island Scenic Flight Experience
★ 4.7 · 54 reviews - Hobart: Tahune Airwalk & Hastings Caves – Active Day Tour
★ 4.8 · 56 reviews - Hobart: Mt Wellington, Richmond, & Bonorong Wildlife Tour
★ 4.6 · 59 reviews - Tasmania: Wilderness and Wildlife Guided 6-Day Tour
★ 4.6 · 60 reviews - Port Arthur, Richmond and Lavender Active Day Tour
★ 4.5 · 61 reviews - kunanyi/Mt Wellington Explorer Bus – One Way Tour
★ 5.0 · 63 reviews
Hobart & Mount Wellington, compared.
 ★ 5.0Full-Day Guided Bruny Island Tour from HobartFrom $1291,331 reviews
 ★ 5.0kunanyi/Mt Wellington Explorer Bus- Return Tour (2.5 hours)From $351,249 reviews
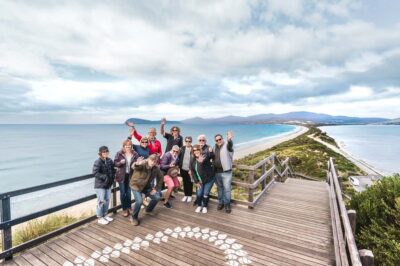 ★ 4.8Hobart: Bruny Island Food, Sightseeing & Lighthouse Day TourFrom $198960 reviews
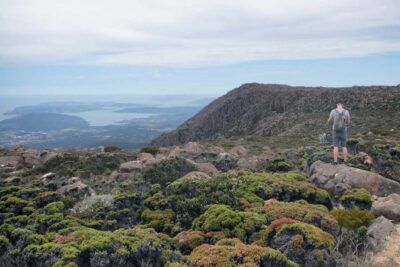 ★ 4.8Hobart: kunanyi/Mt Wellington Explorer Bus PassFrom $35848 reviews
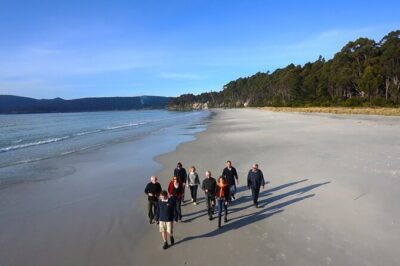 ★ 5.0Bruny Island Traveller – Gourmet Tasting and Sightseeing Day Trip from HobartFrom $197786 reviews
 ★ 4.5Hobart: 24-Hour Hop-on Hop-off Sightseeing Bus TicketFrom $31770 reviews
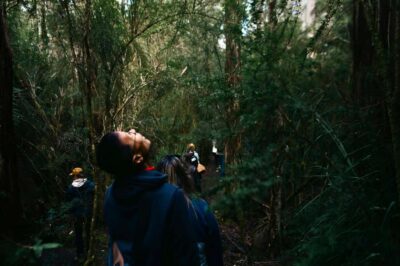 ★ 4.7From Hobart: Full-Day Bruny Island Tour with GuideFrom $127755 reviews
 ★ 4.8Hobart: Mt Wellington, Mt Field, Bonorong and Richmond TripFrom $126722 reviews
Browse the lists this tour appears in