
REVIEW · HOBART & MOUNT WELLINGTON
kunanyi/Mt Wellington Tour and MONA Admission
Two very different Hobart icons in one day. This combo tour strings together kunanyi/Mt Wellington and MONA, with a guide steering you through the alpine ecosystem, then handing you off to Australia’s most talked-about modern art museum. I especially liked how the experience feels structured, yet varied.
I also liked that the day includes the scenic river ferry and MONA admission, so you are not juggling extra bookings or timing. The one real drawback to plan around is weather: Mt Wellington can be cold, windy, and cloudy, and you may lose some of the view even when Hobart feels fine.
In This Review
- Key things to know before you go
- Mt Wellington plus MONA: why this combo works in Hobart
- Price and logistics: what you really pay for
- The start point at Mona Brooke Ferry Terminal
- Mt Wellington drive: ecosystems, Organ Pipes, and a guide who keeps it moving
- Summit time: expect photos and a quick reset
- Cold wind reality: what to wear and how to stay comfortable
- Cascade Gardens: classic Hobart scenery plus convict history outside the main tourist track
- The Cascades Female Factory historic site stop: short, meaningful, and easy to miss
- Getting to MONA by ferry: architecture first, then the art
- MONA time: what to expect when the museum is a mood, not a checklist
- Stairs, heat, and comfort: plan for movement
- Driver and guide impact: the difference between a good tour and a great one
- Who this tour is best for (and who should think twice)
- Final verdict: should you book the Mt Wellington and MONA day?
- FAQ
- How long is the Mt Wellington and MONA tour?
- What is the price per person?
- What does the ticket include?
- Is lunch included?
- Where does the tour start and end?
- What time does the tour depart?
- What happens if the weather is bad?
Key things to know before you go
- Fully escorted Mt Wellington morning with onboard commentary to make the drive and stops meaningful
- Return ferry included so getting to MONA feels simple, not stressful
- You get contrast on the same day: alpine ecology, then historic gardens, then contemporary and ancient art inside MONA
- Time at the summit can be short when you want photos and a quick toilet stop, the clock moves fast
- Dress for cold wind even if you are in short sleeves in Hobart
- MONA is self-directed by design. If you need clear, guided explanations for every artwork, set expectations
Mt Wellington plus MONA: why this combo works in Hobart
Hobart can be a “one great view, one great museum” kind of trip. This tour gives you both, without turning your day into a logistics project.
On Mt Wellington, the big point is not just the photo from the summit. It is the way the guide connects what you are seeing as you climb. You pass through different eco zones, you get explanations for the harsh alpine conditions, and you can catch the Organ Pipes rock formation along the way. Then, you drop into the city mood for Cascade Gardens and MONA.
The second reason it works is the museum timing. MONA is not a quick in-and-out place. The tour’s flow builds in enough time to wander, snack, and take in the building itself. And because the return ferry is included, you keep your focus on the experience, not the schedule.
The mountain, the docks and the Saturday market
- Full-Day Guided Bruny Island Tour from Hobart★ 5.0 · 1,331 reviews
- kunanyi/Mt Wellington Explorer Bus- Return Tour (2.5 hours)★ 5.0 · 1,249 reviews
- Hobart: Bruny Island Food, Sightseeing & Lighthouse Day Tour★ 4.8 · 960 reviews
- Hobart: kunanyi/Mt Wellington Explorer Bus Pass★ 4.8 · 848 reviews
Price and logistics: what you really pay for
At $101.85 per person, you are paying for three things that add up fast on your own: guided transport up Mt Wellington, MONA entry, and a return ferry ticket.
This is not just a hop-on, hop-off bus. You get an air-conditioned vehicle and a driver/guide for the full morning drive and stops. You also get hotel pickup, which matters because Hobart lodging can be spread out. You should note that the tour ends with the ferry, so hotel drop-off is not included.
The group size is capped at 45. That is large enough to feel social, but small enough that the guide can keep the commentary moving.
You start at 9:00 am. The tour runs about 7 hours 30 minutes total. You will likely feel like you spent most of the day “in motion,” but the stops are chosen to make that motion worthwhile.
The start point at Mona Brooke Ferry Terminal
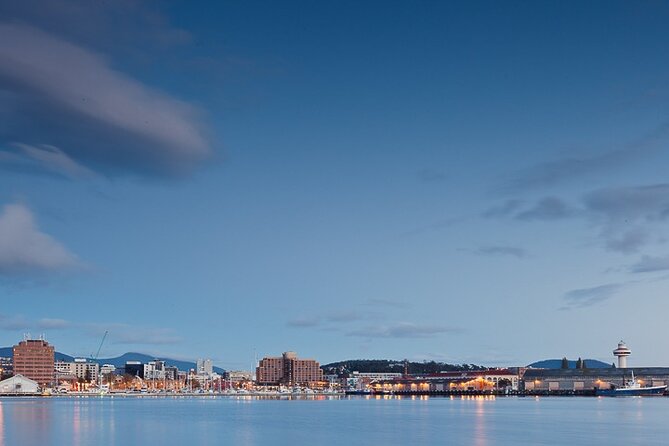
The day kicks off at the Mona Brooke Ferry Terminal at Franklin Wharf in Hobart. That matters because it sets your mindset: this is a day anchored to the waterfront.
You do not just get to MONA by bus. You go as part of a river route, with chances to see MONA’s striking architecture from the water. It is a small thing, but it works. You arrive already aware you are looking at something designed to be noticed.
Also, you get a mobile ticket. That can save time on check-in versus paper vouchers.
Mt Wellington drive: ecosystems, Organ Pipes, and a guide who keeps it moving
Mt Wellington, also called kunanyi, is one of those places where the scenery can flip from “nice view” to “wow” in minutes. The alpine environment is serious. It can be clear and crisp, or cold, windy, and clouded in. This tour is built to handle the variability by leaning on the guide’s explanations.
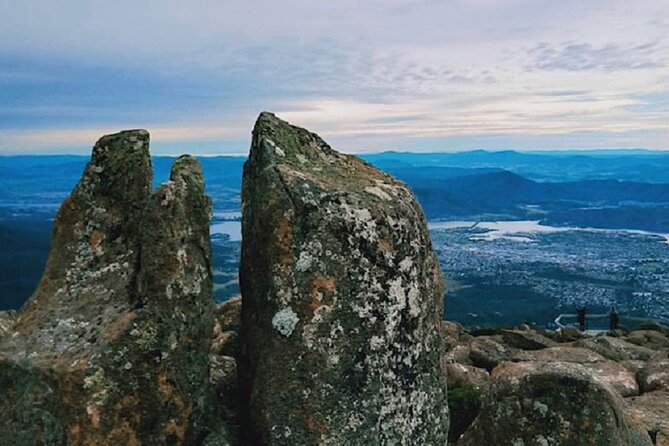
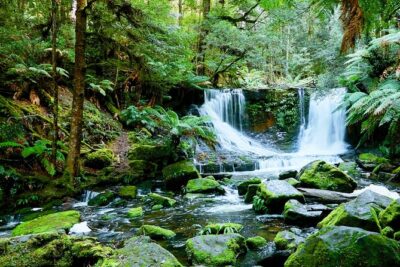
As you ascend, you pass through different ecosystems. The guide points out what makes this mountain tough on plants and animals, and why the alpine look feels so stark. Along the way, you can see the Organ Pipes, a massive rock formation that’s basically the mountain’s signature landmark.
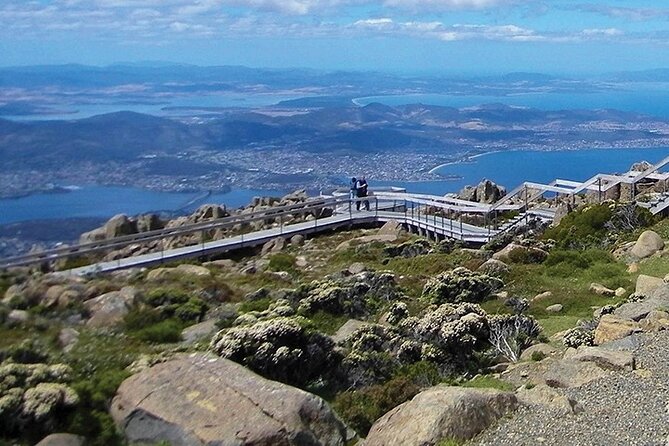
If you are lucky with weather, you are rewarded with Hobart laid out below. If clouds roll in, you still get the experience of a high, exposed environment. One practical tip: even when the city feels mild, up top can be colder than you expect. I would pack layers like you are going out in late autumn, not like you are doing a casual city stroll.
Summit time: expect photos and a quick reset
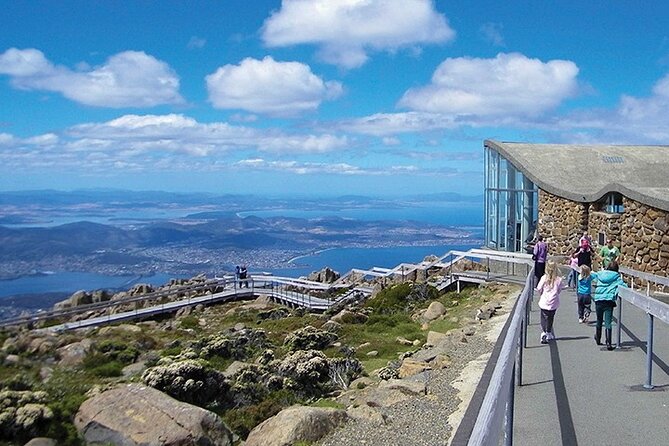
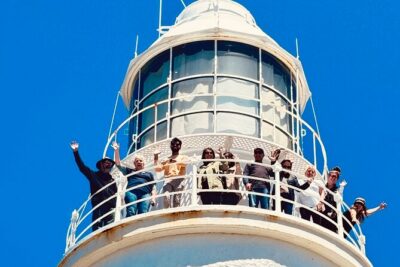
The big operational reality: you are not living up there for hours. When you reach the top, you typically get up to about 30 minutes for views, the observatory building, and short walks.
That is enough time to:
- take photos from the best lookouts,
- warm up inside if the observatory is open,
- and use the toilet before heading back down.
But it is not enough time to “slow travel” the summit like you have all afternoon. So go in with a plan. Decide what angles you want first, then let the rest be a bonus.
Cold wind reality: what to wear and how to stay comfortable
This tour’s biggest variable is not the route. It is the sky. Mt Wellington’s weather is famously unpredictable. In real life, that can mean windy, cold conditions and reduced visibility.
I recommend dressing for the possibility that you will be cold immediately after you step out.
What works well:
- a warm top and a windproof outer layer,
- gloves or at least something for your hands,
- a hat that covers your ears if you get easily cold,
- closed shoes that do not slip on uneven ground.
One more comfort thing: buses can run hot or too warm depending on how quickly the group settles. If you are sensitive to heat, bring a layer you can remove.
And if the day includes rough wind, you might find it easier to keep your movements quick. Do not stand exposed longer than necessary. Grab your shots, do your quick walk, then return to shelter.
Cascade Gardens: classic Hobart scenery plus convict history outside the main tourist track
Between mountain time and museum time, Cascade Gardens give you a slower pace and a chance to stretch your legs.
These are some of Hobart’s picturesque and historic gardens, dating back to 1827. You also get a stop that ties the gardens to the Cascades Female Factory, a one-time female prison.
What I like about this stop is the balance. The mountain is about altitude and ecosystems. Cascade Gardens add human history and local atmosphere. You see the remains and get context from the guide about what life for the women convicts involved there looked like.
It is brief, but it is specific. If you enjoy local details that are not just postcards, this stop is worth the transfer time.
The Cascades Female Factory historic site stop: short, meaningful, and easy to miss
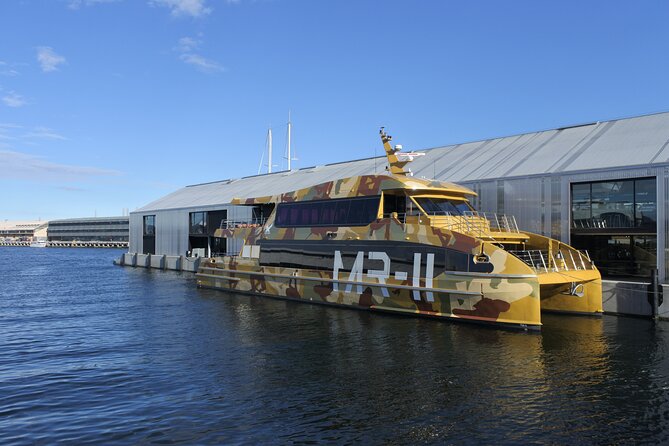
There is also a separate, shorter stop for the exterior of the Cascades Female Factory Historic Site. The idea is simple: you get enough time to look and absorb what the site represents, without turning the day into a museum-like history tour.
Because it is mostly an exterior viewing experience, you can keep expectations realistic. If you want deep, room-by-room interpretation, you will need to do extra reading or a follow-up visit on your own. But for a quick context hit during a busy day, it works.
Getting to MONA by ferry: architecture first, then the art
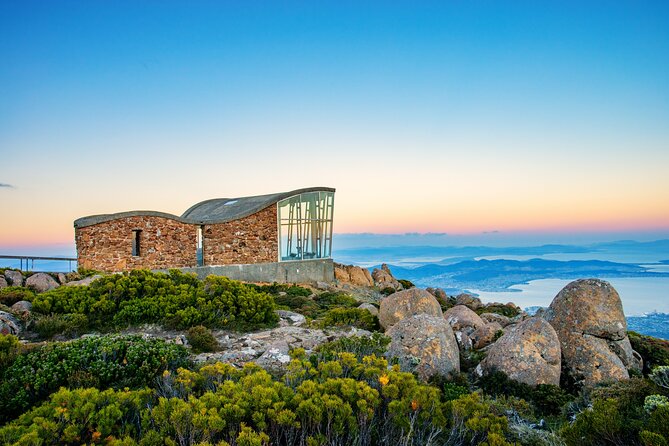
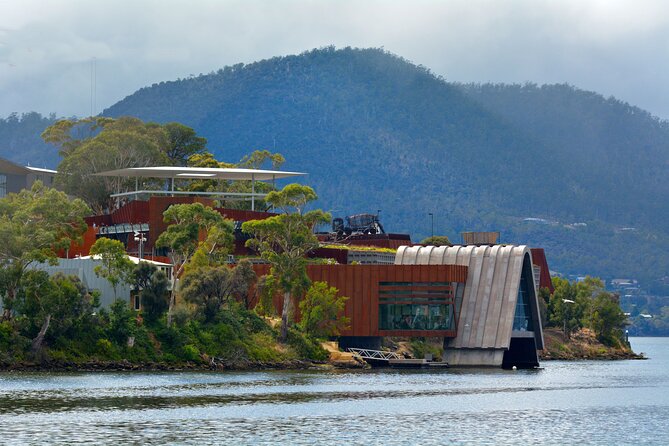
Your MONA experience starts on the water. There is a scenic cruise along the Derwent River as you head toward the museum. This is one of those travel moments that feels like a breather, even if the morning already kept you on the move.
From the ferry route, MONA’s architecture reads as part of the art. The building feels like something carved into the landscape, and you are seeing it in motion, from a different angle than you would walking in from the street.
You also get MONA entry included, so once you arrive you can focus on exploring. You do not need to squeeze time to buy tickets, figure out entry rules, or hunt down the right ticket type.
MONA time: what to expect when the museum is a mood, not a checklist
MONA is not the kind of museum where every gallery is about tidy, traditional themes. It is designed to make you react, think, and wander. Some people love that. Others want more guidance.
If you are the type who prefers a museum plan with every room explained, you might find MONA more self-directed than you expected. There can be areas that are closed, and you may rely on digital tools to locate and understand works.
That said, MONA has plenty of energy beyond the artworks themselves:
- You can find food and beverage options for a break.
- Some days include live music, which helps turn the museum into an evening-like vibe even in daytime.
- The building is part of the experience, especially if you care about architecture.
Stairs, heat, and comfort: plan for movement
MONA involves plenty of walking and stairs. Some guests specifically mention a long stair climb, including a 99-stair walk, and others bring up moments where entrances felt odd or less convenient.
So here is my practical advice: wear shoes you trust. Take breaks when you need them. And if you hate “one more flight of stairs,” keep your energy for the areas you want most.
If you get overwhelmed, do this instead: pick one area to start that you already care about, then let the rest unfold around it.
Driver and guide impact: the difference between a good tour and a great one
The strongest pattern from real feedback is that the guide makes or breaks the day. When the commentary clicks, the mountain drive feels like a story, not a transfer.
You may meet different guides on different departures. Names that have come up include Mark, Dave, Baz, and Colin, and the common thread is active, friendly commentary and clear instructions.
One tip: if audio equipment ever seems unreliable, sit where you can hear. In a large group, that small move can make a big difference.
Who this tour is best for (and who should think twice)
This tour is a great match if you want:
- one day that covers nature, local history, and a major contemporary museum,
- guided context, especially on Mt Wellington ecosystems,
- a low-effort ferry and entry setup for MONA.
It is also ideal if you are visiting during a short stay and you want to cover key Hobart landmarks without overplanning.
I would think twice if:
- you are extremely sensitive to cold and wind, because Mt Wellington can be rough even in warmer months,
- you need step-by-step museum guidance for every exhibit,
- or you hate stairs and long wandering indoor spaces.
Also, it helps to know that MONA’s content is a love-or-hate style of museum. If edgy or provocative art makes you uneasy, go anyway only if you are curious rather than expecting comfort.
Final verdict: should you book the Mt Wellington and MONA day?
I think you should book this tour if you want an efficient Hobart day that mixes big viewpoints with a museum experience you cannot fake. Mt Wellington is the best kind of weather gamble. Even when visibility is limited, you still experience the mountain environment, and you still get meaning from the guided stops.
Book with confidence if you value structure. You get guided transport, hotel pickup, MONA entry, and the return ferry. It is hard to build that on your own for the same stress level.
Book with a smart packing mindset. Dress for wind and cold. Wear shoes for stairs. Bring a layer for museum comfort too.
If you are only interested in museum highlights that feel classic and explanatory, you might prefer a different museum style tour. But if you want to see Hobart from high above and then step into a museum that takes chances, this is one of the most practical ways to do it.
FAQ
How long is the Mt Wellington and MONA tour?
The tour runs for about 7 hours 30 minutes (approx.).
What is the price per person?
The price is $101.85 per person.
What does the ticket include?
The tour includes hotel pickup, an air-conditioned vehicle, a driver/guide, MONA entry, and a return ferry ticket.
Is lunch included?
No, lunch is not included.
Where does the tour start and end?
The tour starts at Mona Brooke Ferry Terminal, Franklin Whrf, Hobart TAS 7000, and ends at Brooke Street Pier, 12 Franklin Whrf, Hobart TAS 7000. Hotel drop-off is not available, since the tour concludes with the ferry.
What time does the tour depart?
The start time is 9:00 am.
What happens if the weather is bad?
This experience requires good weather. If it is canceled due to poor weather, you will be offered a different date or a full refund.
Hobart, Under the Mountain
Added lately from Hobart
- kunanyi/Mt Wellington Tour and MONA Admission
★ 4.5 · 69 reviews - Hobart: Tahune Airwalk, Hastings Caves & Thermal Springs Pool
★ 4.5 · 75 reviews - Hobart: Luxury Yacht Scenic Sailing Tour with Snacks
★ 5.0 · 75 reviews - Cascade Brewery Tour
★ 4.5 · 77 reviews - 7-Day Super Value Tour of Tasmania: Explore Tasmania’s West and East Coasts
★ 5.0 · 77 reviews - Hobart Half Day Wine and Food Tour
★ 4.5 · 80 reviews
Hobart & Mount Wellington, compared.
 ★ 5.0Full-Day Guided Bruny Island Tour from HobartFrom $1291,331 reviews
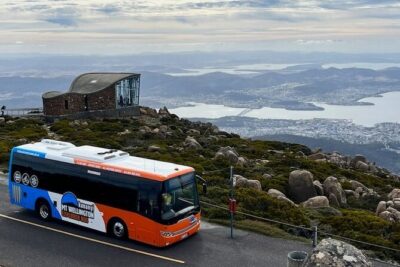 ★ 5.0kunanyi/Mt Wellington Explorer Bus- Return Tour (2.5 hours)From $351,249 reviews
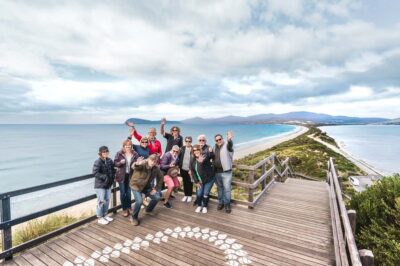 ★ 4.8Hobart: Bruny Island Food, Sightseeing & Lighthouse Day TourFrom $198960 reviews
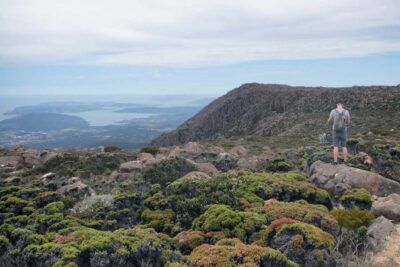 ★ 4.8Hobart: kunanyi/Mt Wellington Explorer Bus PassFrom $35848 reviews
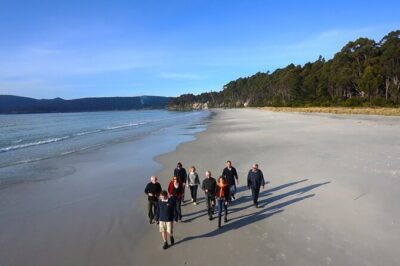 ★ 5.0Bruny Island Traveller – Gourmet Tasting and Sightseeing Day Trip from HobartFrom $197786 reviews
 ★ 4.5Hobart: 24-Hour Hop-on Hop-off Sightseeing Bus TicketFrom $31770 reviews
 ★ 4.7From Hobart: Full-Day Bruny Island Tour with GuideFrom $127755 reviews
 ★ 4.8Hobart: Mt Wellington, Mt Field, Bonorong and Richmond TripFrom $126722 reviews
Browse the lists this tour appears in