
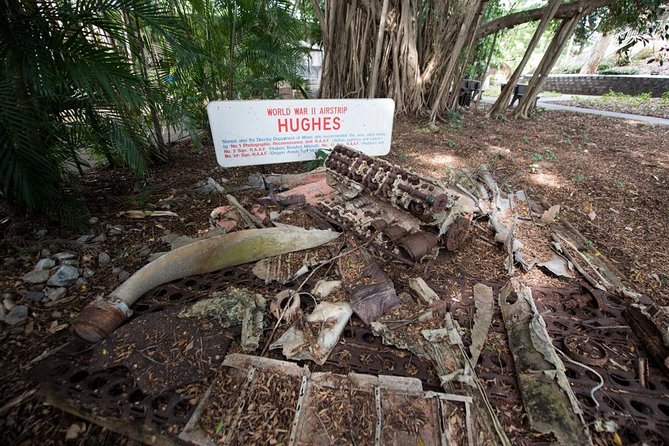
REVIEW · SYDNEY HARBOUR CRUISES
Bombing of Darwin World War II Tour with Harbour Cruise
WWII wrecks are easier to understand from the water. This half-day Darwin tour stitches together city stops, museum time, and a small-boat harbour cruise, all with live narration. I love the small-group pacing and how live onboard commentary connects what you see to what happened in 1942.
One thing to plan for: the schedule is tight. If you want extra time reading displays or taking lots of photos, the museum blocks can feel a bit rushed.
In This Review
- Key highlights worth your attention
- Price and logistics for a small-group harbour cruise
- Stop 1: Sea Darwin harbour cruise and the 1942 raid perspective
- Stop 2: Cullen Bay Marina, a quick disembark pause
- Stop 3: Darwin Military Museum, weapons and vehicles in plain sight
- Stop 4: Defence of Darwin Experience, where stories get real fast
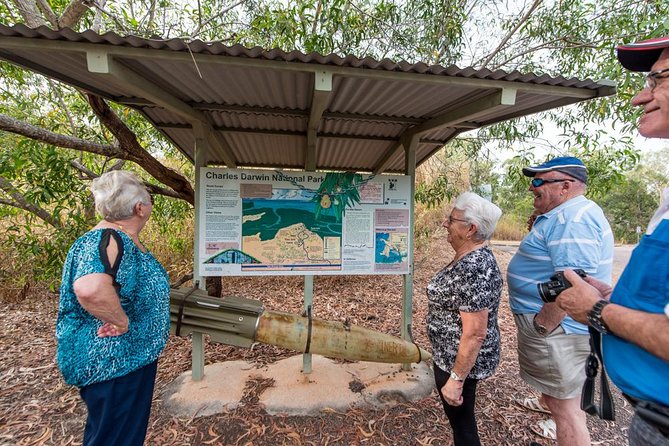
- Stop 5: Charles Darwin National Park bunker exhibit, WWII infrastructure in the bush
- The bus and live narration: how the pieces fit together
- What the tour gets right, and where it can feel limiting
- Who should book this tour, and who should skip it
- Quick checklist so you enjoy it more
- Should you book the Bombing of Darwin WWII tour with harbour cruise?
Key highlights worth your attention
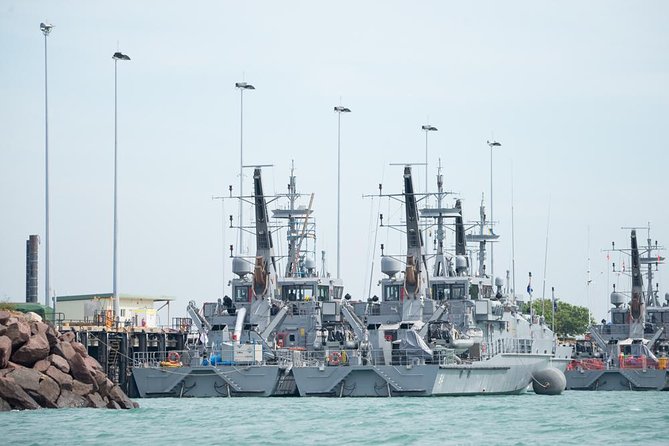
- A 1-hour small-boat harbour cruise from Sea Darwin focused on the 1942 raid bomb and wreck sites
- Two self-guided museum stops so you can set your own pace inside the exhibits
- Charles Darwin National Park bunker exhibit stop tied to the wartime infrastructure around Darwin
- East Point Military Precinct and defence sites explored with guided context before you head into the museums
- Onboard perspective with a cooling break on the harbour cruise in Darwin heat
- Maximum group size of 10 for a more personal feel, with time to ask questions
Price and logistics for a small-group harbour cruise
For $106.87 per person for a 4.5-hour experience, you’re paying for two things at once: guided touring by bus, plus an included boat segment and paid entry into multiple WWII-related sites. It’s not a long day, but it’s packed in a way that works well in Darwin, where daylight and heat can affect how much you can actually see.
This tour also keeps the group small, with a maximum of 10 travelers. That matters more than you might think. With a small group, it’s easier for the guide to slow down when a question comes up, and it feels less like you’re being moved through like luggage.
Logistics are straightforward. Pickup is offered at selected hotels, and the meeting point is at Aquascene Fish Feeding Sanctuary & Cafe, 28 Doctors Gully Rd, Larrakeyah NT 0820. You end back at the meeting point. It’s also a mobile ticket situation, which is handy, especially if you’re juggling sun, phones, and short walking distances.
Two practical notes from real-world experience: first, double-check the currency shown at checkout. One review pointed out the amount can be listed in USD, which can cause a surprise if you’re expecting AUD. Second, the tour runs in Darwin conditions and depends on weather, so have a flexible mindset.
Harbour boats we have already been out on
- Bombing of Darwin World War II Tour with Harbour Cruise★ 4.5 · 219 reviews
- Darwin: Bombing of Darwin WW2 Tour with Harbor Cruise★ 4.8 · 170 reviews
- Darwin Combo: The Bombing of Darwin Experience & Darwin Harbour Cruise★ 4.5 · 123 reviews
Stop 1: Sea Darwin harbour cruise and the 1942 raid perspective
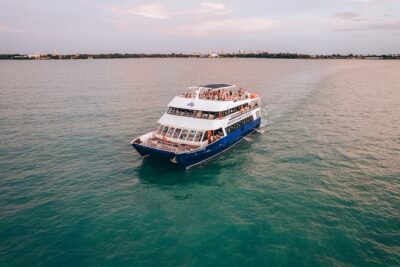
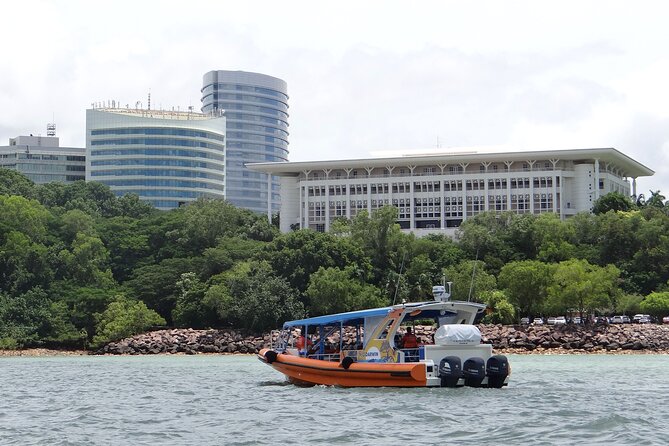
The day’s pivot point is the included harbour cruise, run by Sea Darwin. It lasts about 1 hour and is designed to give you water-level perspective on what happened during Japan’s February 1942 air raids.
This is the part I especially like, because it turns abstract stories into something you can see. From the boat, you’re not just hearing about the bombing, you’re watching the harbour features the guide connects to defence positions and wreck sites. That makes the history feel more grounded and less like a list of dates.
Bring a hat and be ready for sun. One of the clearest bits of advice from past guests was simply that you should protect your head on the cruise. Even if you’re not out in the open for hours, harbour conditions still mean bright light and heat.
Also, expect commentary to do a lot of work here. Some guests loved that the story links the harbour locations into a clear narrative. Others felt the boat portion can overlap with what you hear on the bus. My advice is to treat the cruise as a visual chapter, not the entire story. Even if the exact details repeat a bit, the view from the harbour changes how you remember it.
Stop 2: Cullen Bay Marina, a quick disembark pause
You disembark at Cullen Bay Marina. The stop is short, around 5 minutes, and it mostly exists to reset between boat and land-based touring.
Don’t plan to stretch a long break here. Use it to grab water, check sunscreen, and get your phone ready for museum photos. It’s also a good moment to adjust to being on land again after the boat.
Stop 3: Darwin Military Museum, weapons and vehicles in plain sight
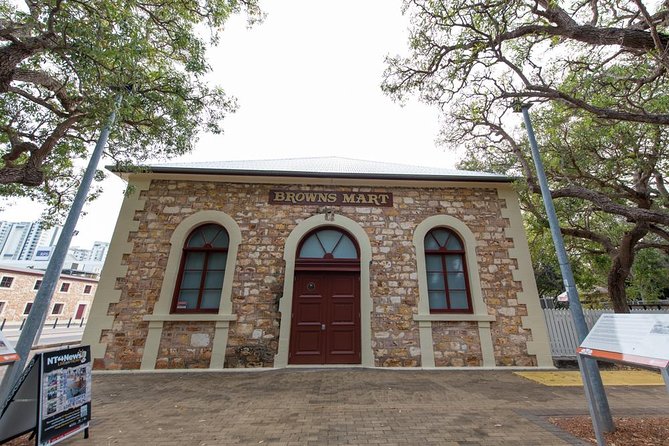
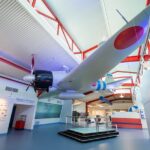
After the cruise, you switch into museum mode with the Darwin Military Museum. It’s self-guided and about 45 minutes, with admission included.
This is the stop that often lands best for people who don’t have deep WWII knowledge. Instead of forcing you to understand everything in one lecture, the museum lets you look at weapons, vehicles, and equipment in your own order. You can zoom in on what interests you and skip what doesn’t.
A big theme from reviews is that the museum time is informative and emotionally real. You’re not just seeing objects, you’re seeing how a defence system looked on the ground, and that context can feel heavy. If that sort of material hits you harder than you expect, go in with a little mental buffer.
The best practical approach: don’t try to read every label. Pick 2 or 3 sections that catch your eye. You’ll finish the 45 minutes feeling like you got something meaningful, instead of rushing through everything while anxious you missed something important.
One review did mention they wished they had more time at the museum. So if you know you like museums and could spend longer than 45 minutes, keep your expectations aligned with the half-day format.
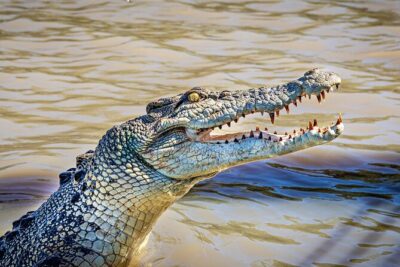
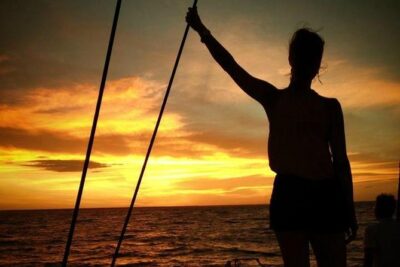
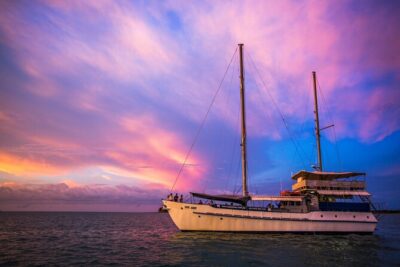
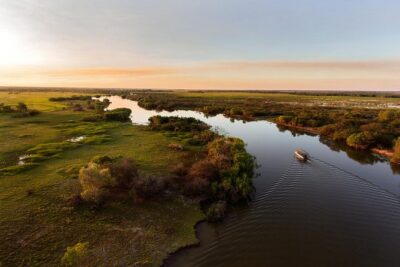
Sunset water and saltwater crocodiles, other options
Stop 4: Defence of Darwin Experience, where stories get real fast
Next is the Defence of Darwin Experience. It’s also self-guided for about 45 minutes, and admission is included.
This is a strong follow-up to the Darwin Military Museum. If the museum shows you hardware and the bigger picture, this experience leans more into the human side of what Darwin faced. Reviews describe it as emotive, so again, this is not just light browsing.
Self-guided also helps here. The narrative pacing is yours, which makes it easier to slow down if you want to sit with a display for a moment. You can also step back if you’re starting to feel overwhelmed.
If you’re traveling with kids or anyone sensitive to intense topics, I’d recommend scanning the room first, then deciding how long to spend in each section. The tour is paced for a half-day, not a full museum day.
Stop 5: Charles Darwin National Park bunker exhibit, WWII infrastructure in the bush
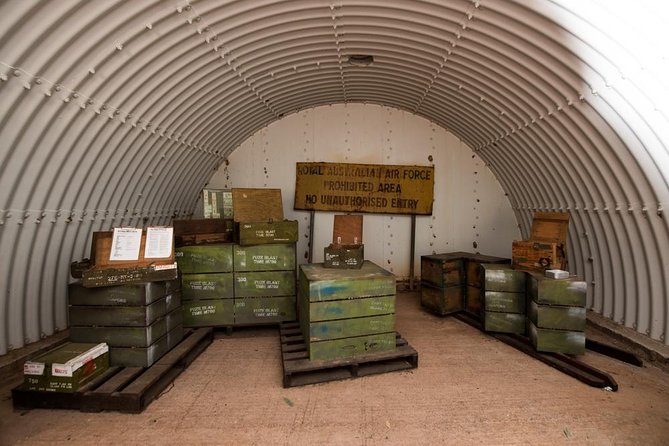
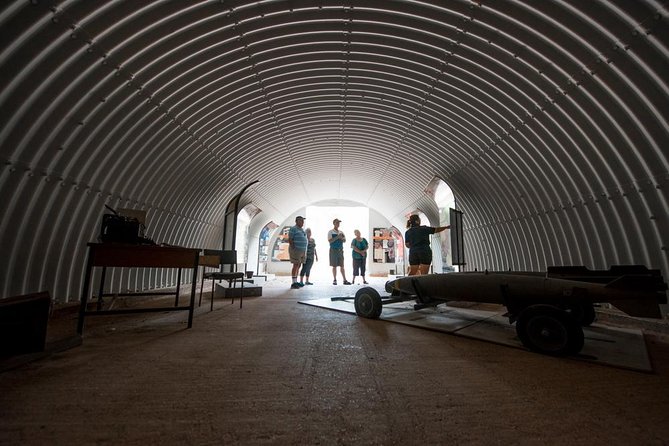
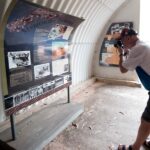
The final museum-style stop is at Charles Darwin National Park, with a bunker exhibit timed around 20 minutes.
Even at just 20 minutes, this stop is valuable because it places WWII defence infrastructure in a real geographic setting. Darwin is coastal, hot, and spread out. When you see wartime sites outside the city blocks, it makes the defence strategy feel less like an abstract plan and more like a response to terrain and distances.
The tour overview also notes you’ll see ammunition storage tanks at Charles Darwin National Park. That detail helps explain why bunkers and out-of-the-way sites mattered. They weren’t just for show, they were built for operations.
One small but important tip: bring water. Even with an air-conditioned bus for the drive segments, outdoor time adds up quickly in the Top End. You’ll likely appreciate having a bottle handy during the final stop.
The bus and live narration: how the pieces fit together
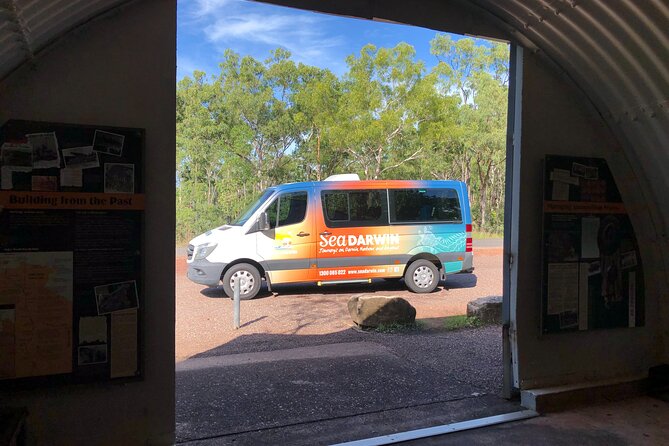
Between stops, you’re in an air-conditioned vehicle with a local guide and live commentary. This is where the tour earns its keep.
The guide’s job is not just to recite facts. It’s to connect why these places exist, what role each defence site played, and how the harbour links to the city’s wartime story. Reviews consistently highlight how much people learned from the guide on both land and boat.
Names you’ll hear in guest accounts include Jim, Mariette, and Betty, each praised for clear explanations and the ability to make the story feel understandable. When a guide is doing their job well, the museums stop feeling like isolated rooms and start feeling like chapters in one timeline.
One thing I’d watch for is pacing. A late pickup in at least one review caused parts of the day to feel rushed. In general, this is still a schedule-heavy half-day. If you’re the type who loves lingering, arrive early for pickup and plan to keep moving.
What the tour gets right, and where it can feel limiting
This tour has several stand-out strengths.
First, you’re getting two different environments in one ticket. Land gives you museums and built history. Water gives you scale and location context. That combination is what makes Darwin’s WWII story click.
Second, the experience is built for comfort. You have air-conditioned transport, plus a boat segment that can feel like a break from the heat. Reviews mention the harbour cruise being cooling in hot weather, which matters in Darwin.
Third, the content feels tailored to people who may not know the basics. For many Australians, WWII bombing of Darwin wasn’t emphasized in early schooling. A solid guide can change that by building the story from the ground up, and that’s a theme in the feedback.
Now the limits.
- The day is short. Museum rooms get around 45 minutes each, and the bunker exhibit is only 20 minutes. If you want slower museum browsing and lots of photos, you may need an extra day later to do it properly.
- The harbour cruise can overlap with bus commentary. Some guests found the boat portion a bit repetitive, or that there wasn’t a huge amount to see. The counterpoint is that the boat still adds essential perspective, especially if you care about where things were.
Who should book this tour, and who should skip it
This is a great pick if you want a smart overview that includes paid entries and a harbour component, without spending your whole day in museums. It’s also good if you learn best when you can move between viewpoints, boat to land, and hear explanations in real time.
It’s also a good match for people who want a guided structure but still prefer to explore at their own pace inside the museums, since both museum stops are self-guided.
I’d think twice if you’re a hardcore museum person who likes to read every label, because the schedule is tight. I’d also adjust expectations if you’re expecting a huge number of visible wrecks from the boat. The cruise is about seeing raid and wreck-site context, not turning the harbour into a sightseeing parade.
Quick checklist so you enjoy it more
- Bring a hat for the harbour cruise
- Wear light clothing suited to heat, since you will have outdoor time
- Use sunscreen, and consider insect protection for the outdoor stops
- Bring water, especially for the national park bunker exhibit
- Plan for no food included, so eat before or bring a snack if your style allows
- If you’re sensitive to intense wartime material, know the museum experience can feel emotive
Should you book the Bombing of Darwin WWII tour with harbour cruise?
I think you should book this tour if you want a focused half-day that takes you from Darwin’s wartime story on land into a harbour view of what the 1942 raids caused. The live narration, the small group size, and the included boat time are the winning mix.
I’d skip or pair it with a longer follow-up if you know you’ll want more time inside museums or if you prefer quieter, slower self-paced sightseeing. For most visitors, though, this is one of the best ways to understand why WWII shaped Darwin and still shows up in the places you can see today.
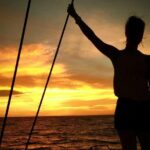
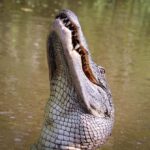
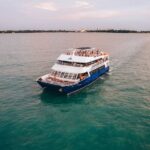
Harbour Sunsets and Saltwater Crocs
More Ways Out on Sydney Harbour
Added lately from Darwin
- Darwin: Guided Jet Ski Tour
★ 5.0 · 55 reviews - Adelaide River Jumping Croc Cruise
★ 4.5 · 56 reviews - From Darwin: 3-Day Kakadu and Litchfield 4WD Camping Tour
★ 4.8 · 57 reviews - Darwin Shore Excursion: Hop-on Hop-off Bus Tour
★ 4.5 · 61 reviews - 3 Day Kakadu & Litchfield 4WD Expedition
★ 4.5 · 61 reviews - Darwin: Adelaide River Queen Original Jumping Crocodile Cruise
★ 5.0 · 63 reviews
Sydney Harbour Cruises, compared.
 ★ 4.7Sydney: Morning or Afternoon Harbour Sightseeing CruiseFrom $381,520 reviews
 ★ 4.0Sydney Harbour Sunset Dinner Cruise from Darling HarbourFrom $891,122 reviews
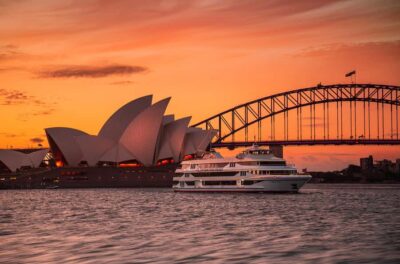 ★ 4.4Sydney: Harbour Dinner Cruise with 3, 4 or 6-Course MenuFrom $88925 reviews
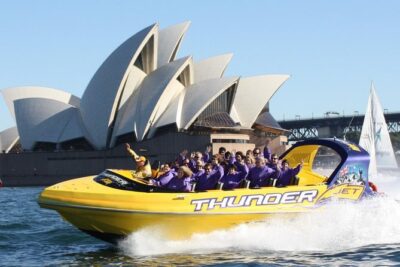 ★ 5.030-Minute Sydney Harbour Jet Boat Ride on Thunder TwistFrom $60841 reviews
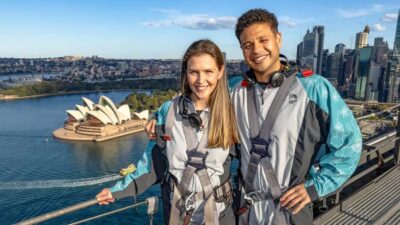 ★ 4.9Sydney: Guided Daytime Summit Climb of Sydney Harbour BridgeFrom $257817 reviews
 ★ 4.7Sydney: Harbour Cruise with Buffet LunchFrom $53804 reviews
 ★ 4.0Sydney Harbour Starlight Dinner Cruise from Darling HarbourFrom $111774 reviews
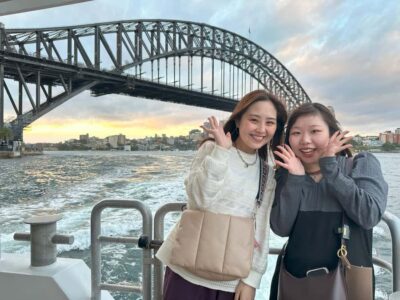 ★ 4.6Sydney Harbour Sightseeing Cruise from Circular QuayFrom $23727 reviews
Browse the lists this tour appears in